Finding gifts for others that don’t break the bank is a constant struggle of mine, as I’m sure it is for many. I love giving meaningful gifts to others, which unfortunately requires money that I do not have. In recent years, crafting has become my secret weapon. Making gifts by hand allows for endless customization and is far cheaper (and more thoughtful) than buying a pre-made gift. For those of you who are also balling on a budget this holiday season, here are a couple DIY gift ideas that will not burn a hole in your wallet.
Canvas Pouch
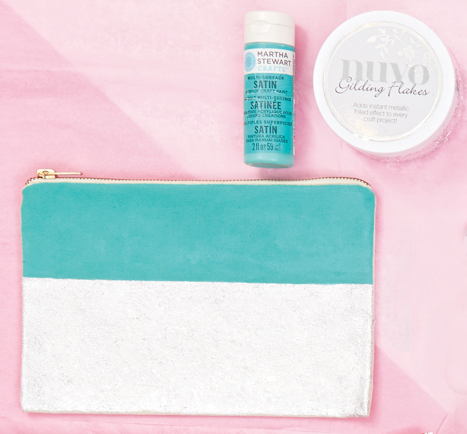
Turn a simple canvas pouch into a stylish statement piece with a little paint and embellishments. These pouches make great gifts that can be used for a plethora of purposes such as a make-up bag, pencil case, change purse, or an organizational tool.
What we used:
- Diving Board Green Acrylic Paint
- Silver Gilding Flakes
- PVA Glue
- Paste Brush
- Nylon Brushes
- Canvas Pouches
We took our canvas pouch and made a chic color blocking effect with acrylic paint and gilding flakes. To get this look, use a nylon brush to cover the entire surface of the pouch with paint. Once dry, place a strip of washi tape or masking tape across the bag. Paint the section you want to add silver to with PVA glue, painting up to and along the line of tape. Heavily coat glued portion with gilding flakes and press down to reinforce the bond and allow to dry. Once dry, remove the tape, and you’re all set! As a little gift for you, the gilding flakes used to create this pouch will remain on your person for days!
Tea Towel
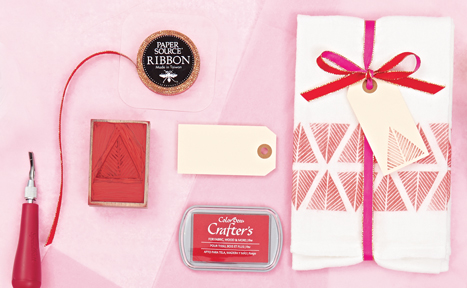
Everyone makes mistakes. Create a gift that helps others clean up their messes, while also solving the mess you’ve created by forgetting (yet again) to buy gifts in time for the holidays. This printed tea towel is quick and easy to make, and is a darling gift for any mature, functioning adult on your list.
What we used:
- Double Sided Red and Pink Ribbon
- Speedball Linoleum Cutter
- Carve-A-Stamp Refill
- Crafters Fire Red Stamp Pad
- Manila Hang Tags
- White Tea Towel
Use your stamp and ink pad to print a pattern on your tea towels. Once dry, neatly fold the towels and tie together with a festive bow. Finish the gift off by adding a stamp to a hang tag and address the gift. Want to be child/friend/sibling of the year? Create a custom stamp using the Carve-A-Stamp Refill and Speedball Linoleum Cutter. This allows you to create any design imaginable and make your gift extra personalized. Include your custom stamp as part of your present to allow your recipient to use it for their next crafting endeavor.
Bangles
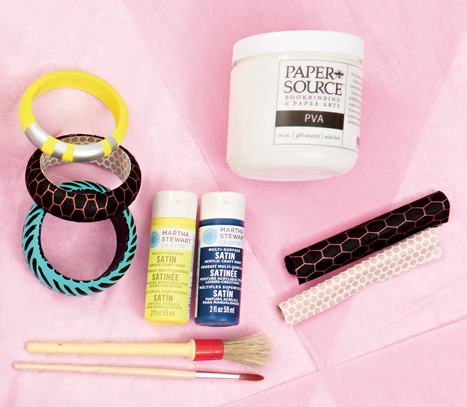
A woman can never have too many accessories! Bangles that are decorated by hand are the perfect gift for the fashionista in your life. Young or old, make these bangles fit the personality and style of your recipient to a tee by using fine paper and acrylic paints to create a trendy, unique set of accessories.
What we used:
- Wood Bangles
- Paste Brush
- Nylon Brushes
- Lightening Bug Yellow Acrylic Paint
- Wild Blueberry Navy Acrylic Paint
- Copper Honeycomb Black Fine Paper
- White Octagons On Pale Pink Fine Paper
- PVA Glue
For the painted bangles, use a nylon brush and acrylic paint to decorate the bracelet. Completely cover the bangle with a solid color of paint, and add detail with a contrasting color.
To cover the bangle with paper, first cut your paper into 3/4″ to 1″ thick strips, keeping them long enough to wrap around the width of the bangle. Paint a thin layer of glue to the back of the strip of paper and adhere it to the bangle, folding over the extra paper to the inside of the bangle. To line the inside of the bangle, cut your paper to the exact correct width and paste the strip of paper along the inside of the bangle.
Framed Picture
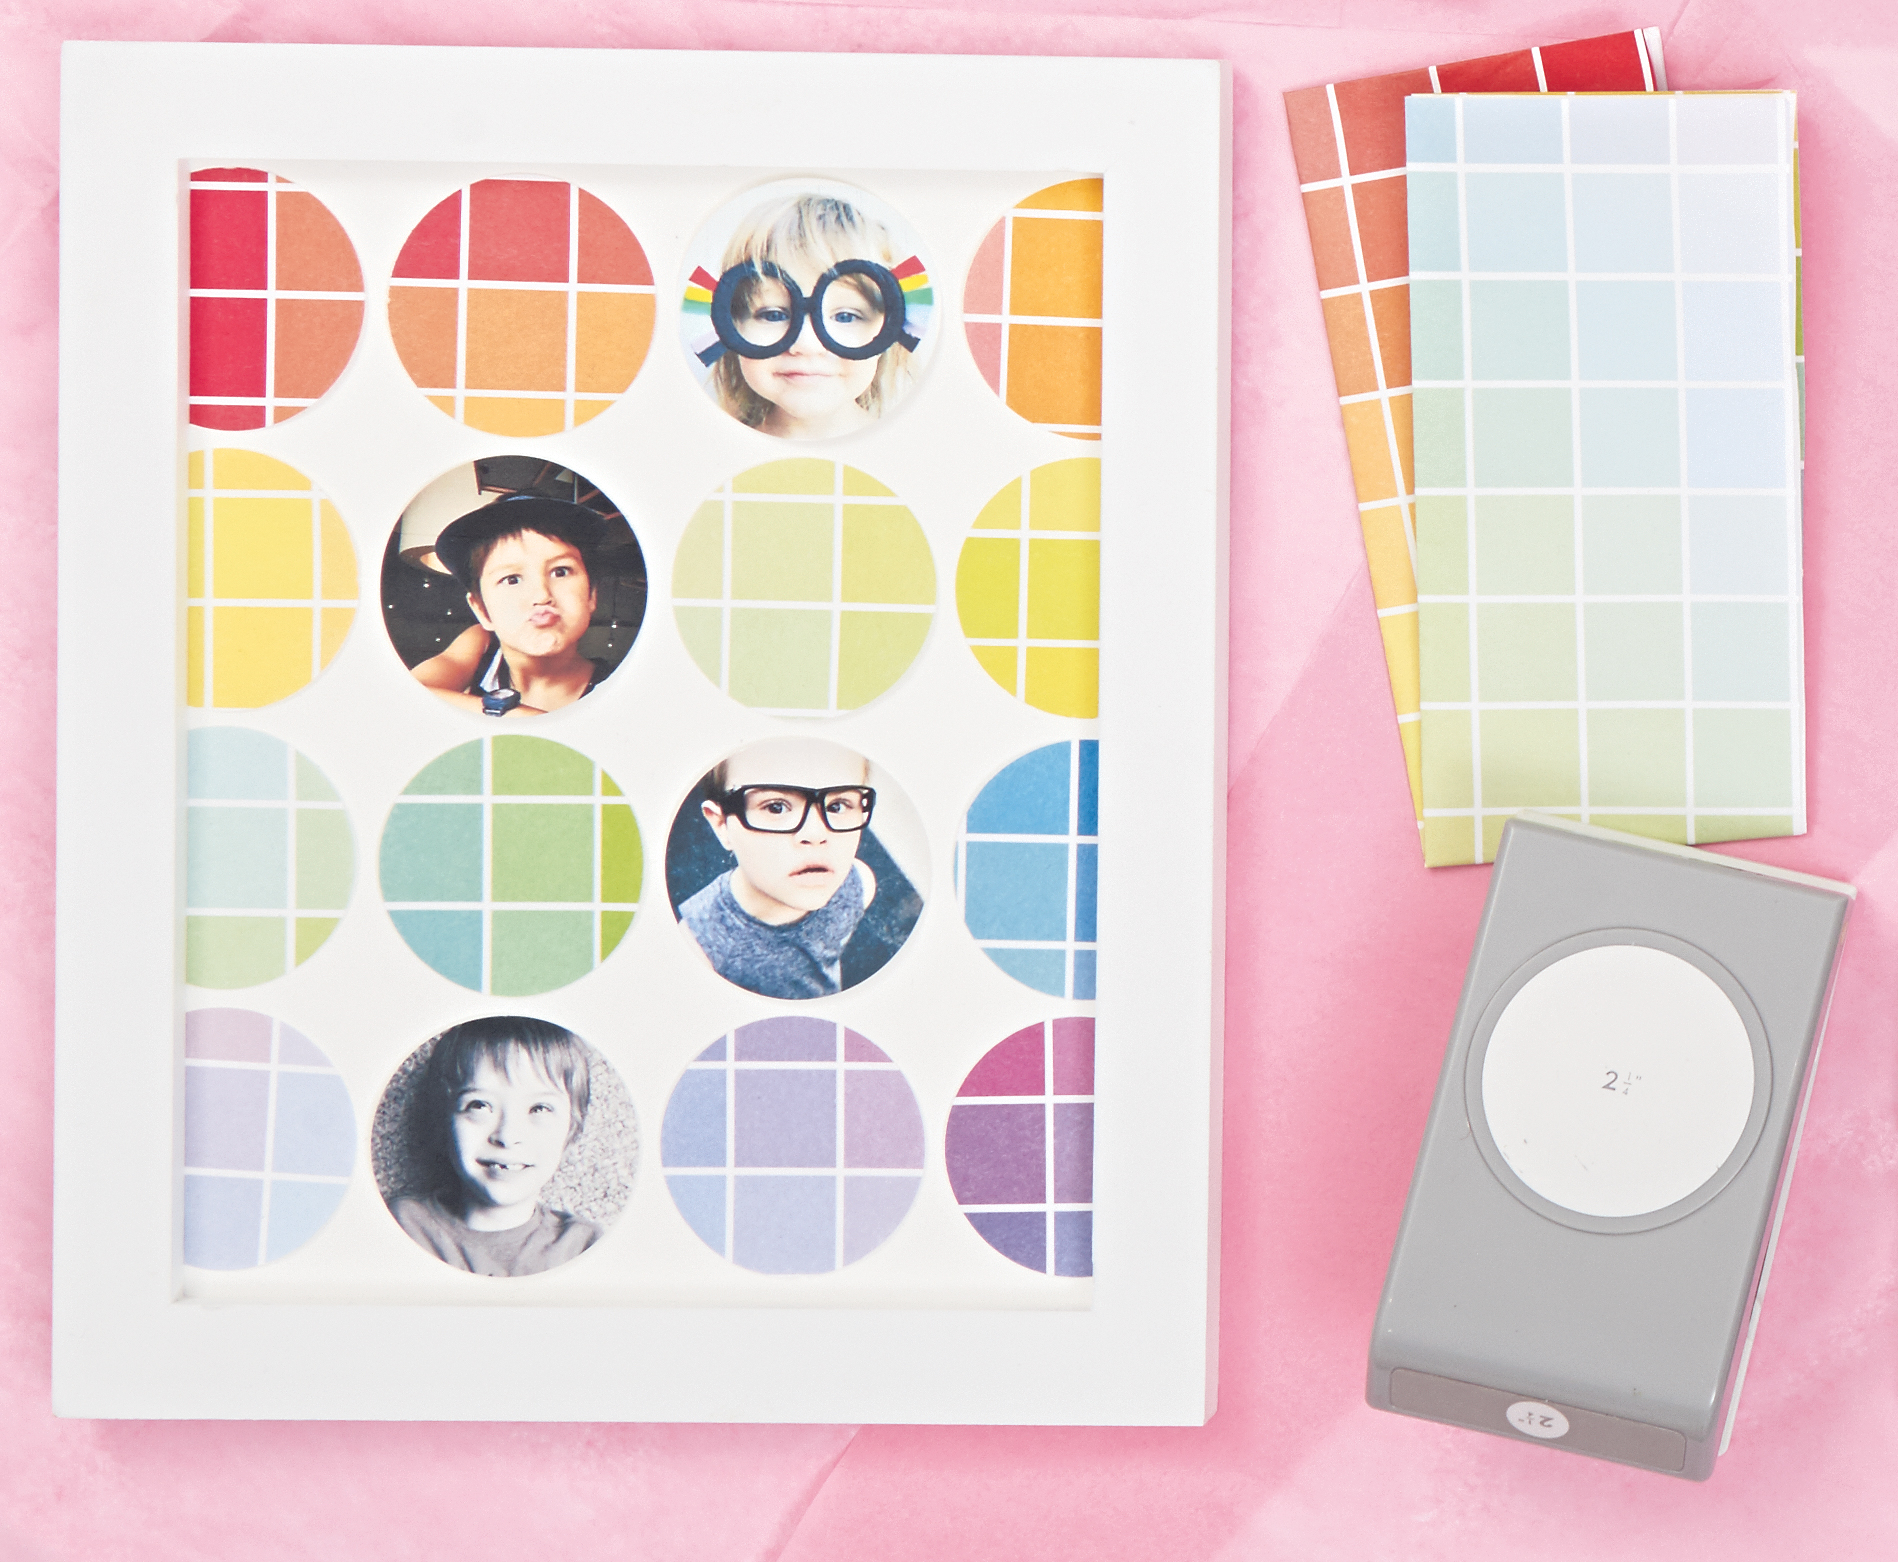
If anyone’s walls are looking a little bare, help spruce them up with a stylish framed picture. I suggest using this gift as an opportunity to have your recipient decorate their wall with pictures of your beautiful face. It’s the gift that keeps on giving, for every time they walk past this framed picture they will be graced with glorious images of you.
What we used:
- White Picture Frame (8×10)
- Rainbow Grid Wrapping Paper
- 2.25″ Circle Punch
Decide on a couple images to feature in your framed picture. Scale your images down to fit in a 2.25″ circle and print on 8.5″ x 11″ photo paper. Use the circle punch to make circles of wrapping paper and photos. Trim a sheet of white paper to 8×10 to fit your frame. Adhere circles to paper using glue or double-sided tape. Place in the frame and you are ready to go!
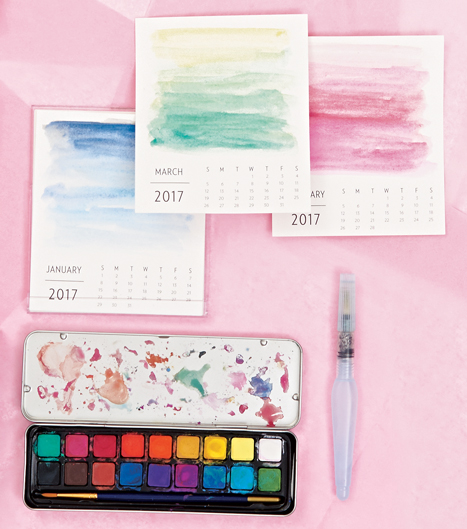
Painted Calendar
Help your recipient start their New Year in style with a DIY calendar. This provides them with a pretty gift that they will enjoy all year long. Each month when they flip the page to see a wonderful new design, they will be reminded of what a kind and thoughtful person you are. Make sure to add your birthday to the calendar so your recipient will have no reason to forget it ever again.
What we used:
- 2017 DIY Calendar
- Basic Watercolor Set
- Aqua Pen/Brush
Use your watercolor set to paint designs on each month of the calendar. No real artistic talent is necessary, for you can easily create a calendar like ours by covering pages with simple painting techniques.
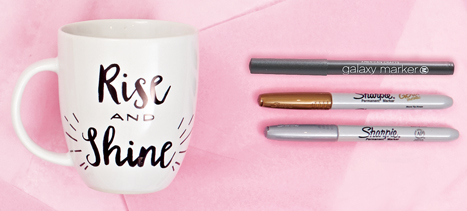
Personalized Mug
The sky (and maybe your artistic abilities) is the limit when deciding what to draw onto this mug. Use Sharpies to hand letter a friend/family member’s favorite mantra, or draw a picture of something they find meaningful. For television lovers, I’ve found that Ron Swanson quotes make for great mug decorations.
What we used:
- White Mug
- Black Medium Galaxy Marker
- Gold Metallic Sharpie Fine Point
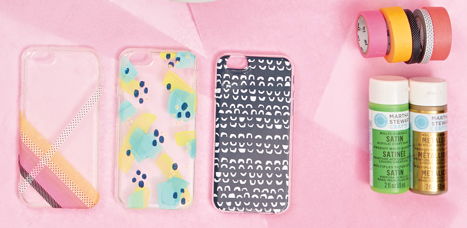
Phone Case
One can never have too many phone cases, and these DIY cases provide your recipient with numerous new designs to deck their phone out with. Help your pal protect their most prized possession so that they can safely fill their storage with selfies for many holidays to come.
What we used:
- Clear iPhone 6 Case
- Neon Solid Washi Tape
- Black/White Slim Washi Tape
- Snow Pea Green Acrylic Paint
- Gold Metallic Acrylic Paint
- Navy and White Half Moons Wrapping Paper
Washi tape is a simple way to decorate a case, and allows you to continue to change and customize your case over and over again. Place the tape in any fun pattern you like, and you are good to go! Accompany this gift with a set of washi tape so your recipient can continue to decorate and redesign.
You can also decorate your gift with acrylic paints. We created this artistic and modern look by gently brushing paint on the back of the phone case.
Another fun and interchangeable way to decorate a phone case is with fine paper. Cut your paper to the size of the case, making sure to cut a hole for the camera. The best way to get the right fit is to trace your phone case on your paper before cutting. Cut your paper so that it can fit to the inside of the phone case. Use our wide variety of beautiful fine papers to create an array of inserts for your recipient to choose from and cycle through. If you do not wish to change designs, we recommend adhering the paper to the phone case with clear-drying glue for a more secure bond.
Use these ideas and tips to win the holidays by presenting your loved ones with wonderful gifts! Want more ideas? Head over to the DIY section of our blog to check out many more projects that can serve as great holiday presents.


[…] Head over to the DIY section of our blog to check out many more projects that can serve as great holiday presents and check out our how-to videos for our crafting […]