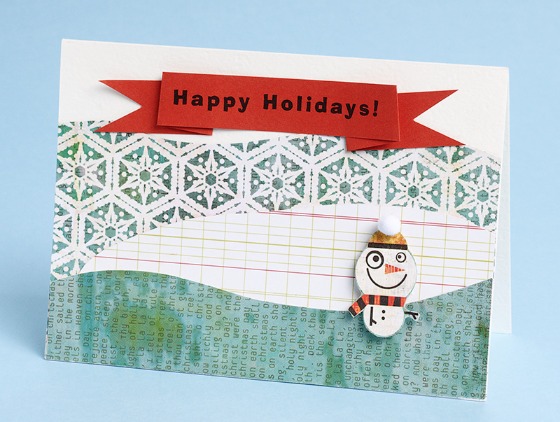
Our 12×12 sheets aren’t just for scrapbooks! Make this jolly lil’ fellow using our new “Button Nose Snowman” 12×12. It’s the perfect project for the snowman lover in us all! The page is filled with these frosty friends in all different shapes and sizes. Cut out one for each card…or how about a bunch to represent the whole family!
Happy Holidays To You & Yours!
–Annie
PS colors: peacock & paper bag
Latest fave: Spritzer Rubber Stamp Cleaner and Rubber Stamp Cleaning Pad
Materials Needed:
• Luxe Fino Cream A6 Folded Cards
• Persimmon 8 1/2″ x 11″ Text Paper
• Blizzard 12″ x 12″
• Snowfall 12″ x 12″
• Button Nose 12″ x 12″
• White Pom Poms (optional)
• Foam Squares (optional)
• Small Zots Dots/Glue Dots
• Scissors
Instructions:
1. For the backdrop, cut three wavy landscapes using assorted 12″ x 12″ papers in three varying heights for layering.
2. Adhere landscape layers using double-stick tape.
3. Trim out a snowman from button nose 12″ x 12″ paper and adhere to card with a foam square (for added dimension) or double-stick tape.
4. Top off snowman’s hat with a pom pom affixed with a zot dot/glue dot.
5. Print (or write) your message onto Persimmon paper for banner.
6. Cut banner into strips measuring approximately 3/4″ x 8 1/2″.
7. Cut “V” shape at both ends, fold banner in place and affix to card using double-stick tape.


A good idea for the coming Christmas Season. Snowmen are really adorable!