DIY Moments: Vol. 17 No. 1
Spreading love and kindness this Valentine’s is what we’re all about this year. There’s no better way to spread love than creating an adorable fringed-out and pompom-bordered Valentine’s Day card mailbox! This mailbox is the perfect gift for your sweetie (fill it with love notes and treats) or for your kids to take to school.
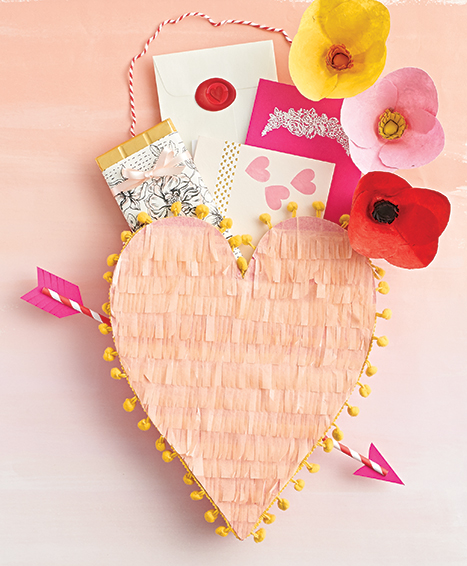
What You’ll Need:
- Presentation Hearts
- Bone Folder
- Hot Glue
- Scissors
- Card Stock
- Pompom Ribbon
- Tissue Paper
- Fringe Scissors
- Straws
- Twine
- Double Sided Tape
- Craft Knife
Step 1
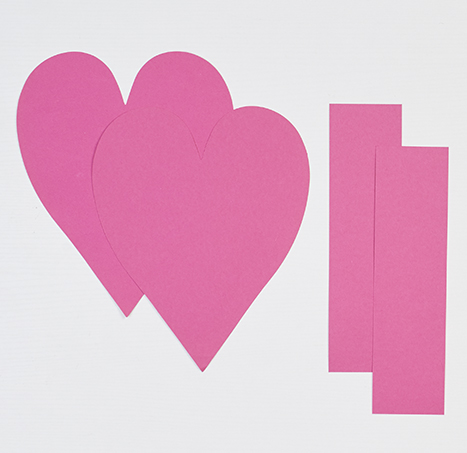
Cut two strips of card stock to 3″ x 11″.
Step 2
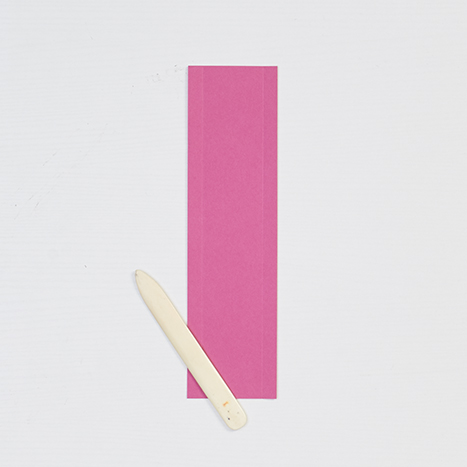
Score and fold the long side of the strips so there is a 1/2″ flap on each side using a bone folder.
Step 3
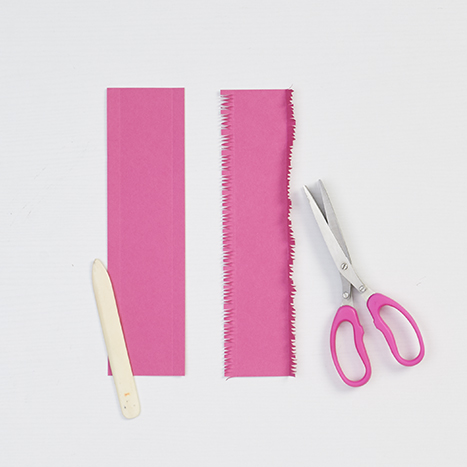
Use the fringe scissors to fringe cut the full length of each flap.
Step 4
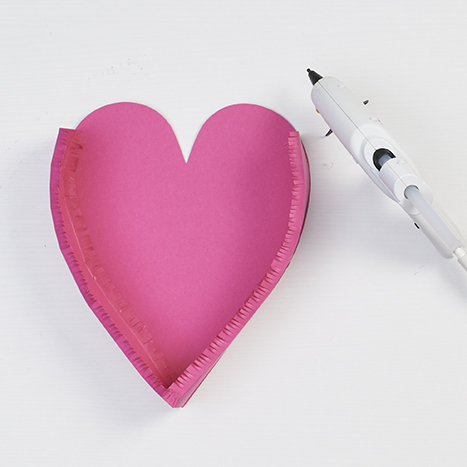
Adhere the flap of one of the strips to the presentation heart with a glue gun. Start at the bottom point of the heart and glue along the edges. Adhere the flap of the other strip to the opposite side of the heart.
Step 5

Adhere the second presentation heart on the top.
Step 6
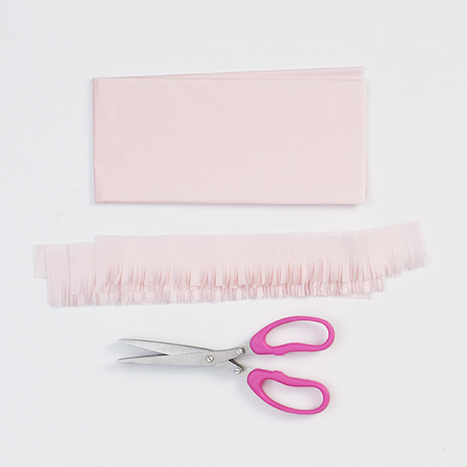
Use fringe scissors to cut fringe in strips of tissue or paper in the color of your choice, we chose coral.
Step 7
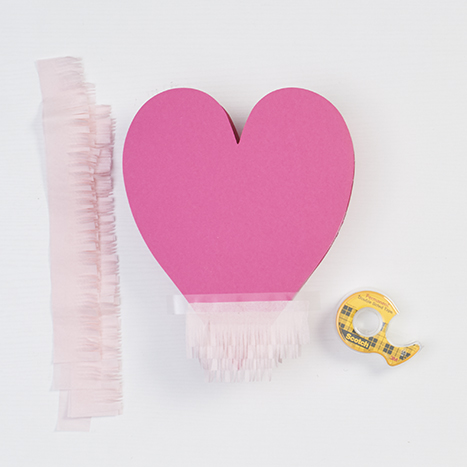
Adhere the strips to the heart shape with double sided tape, overlapping each row.
Step 8
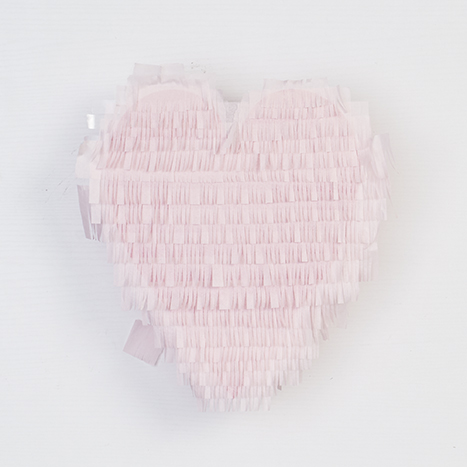
Allow the tissue to run off the edges as you tape it down.This is what it should look like when it is completely covered with the fringe strips.
Step 9
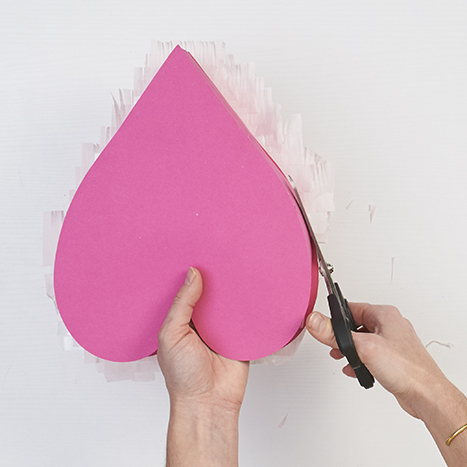
Next, trim the excess when you are done.
Step 10
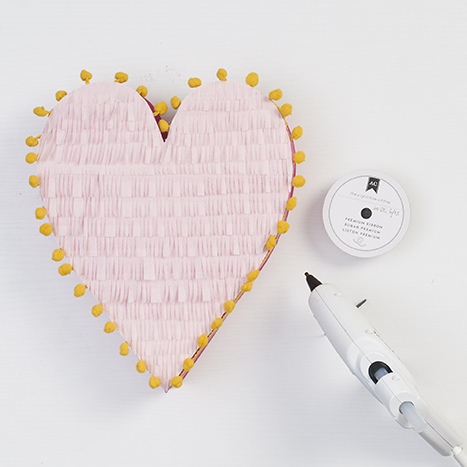
Using a hot glue gun, adhere the pompom trim on the border of the presentation heart.
Step 11
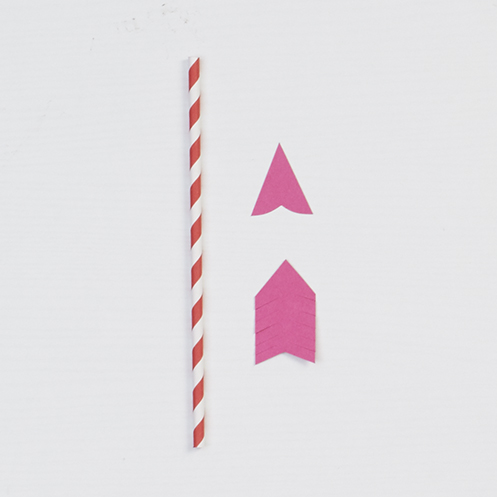
Cut arrowhead tip and feather shapes out of card stock.
Step 12
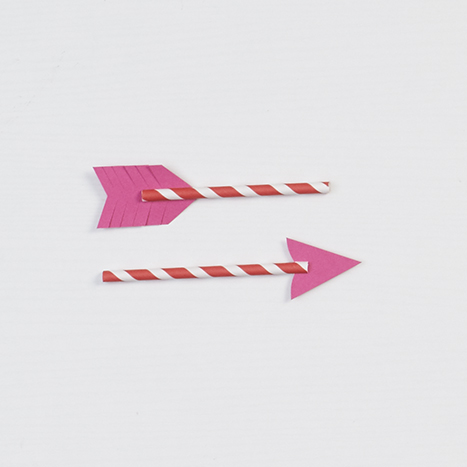
Cut a straw in half. Cut slits in one end of each and slide the arrow tip and feathers in to the straw.
Step 13
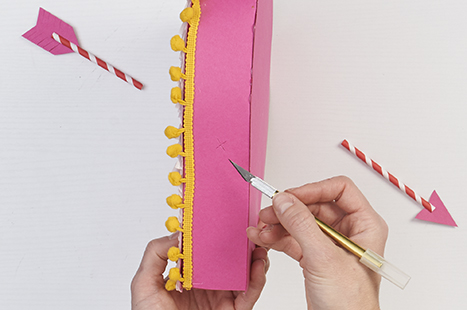
Slice an x shape in the sides of the heart box with a craft knife, slightly larger than the straw diameter.
Step 14
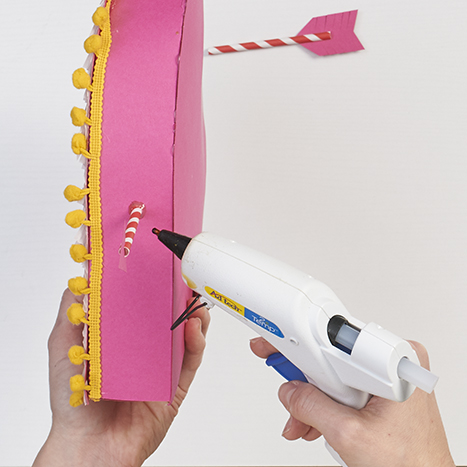
Add a dab of hot glue to each x and push the straws in.
Step 15
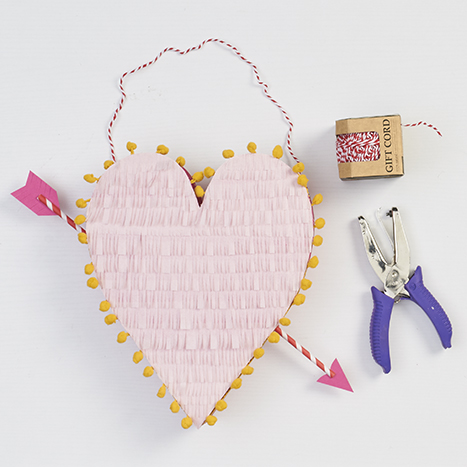
Hole punch the sides of the heart and string with baker’s twine at desired length.
Your Valentine’s Day card mailbox is ready to be filled with love. Share some of your favorite DIY moments with us on Instagram, tag us at @papersource!
– Maham Khan
2016 Fall Web Intern


We loved this post! Super fun, easy and definitely shows true love and passion to your loved one on Valentine’s Day. The three dimensional aspect is especially fun. And the arrow!
Let me know if you girls might have interest in trying out waterproof paper from TerraSlate for crafts or other projects. We would be happy to send you some!
This is very cute. I am going to try this with the older kids in my after school programm.Thank you!
Well, I really liked this craft so I decided to make them for my grandkids. It’s not hard to make, but 11 was just too many. I decided only the girls would really appreciate it, do only 5. That is easily doable.
Paper Source also sells fringe tape in different colors that already has adhesive on the edge.