DIY Moments: Vol. 16 No. 4
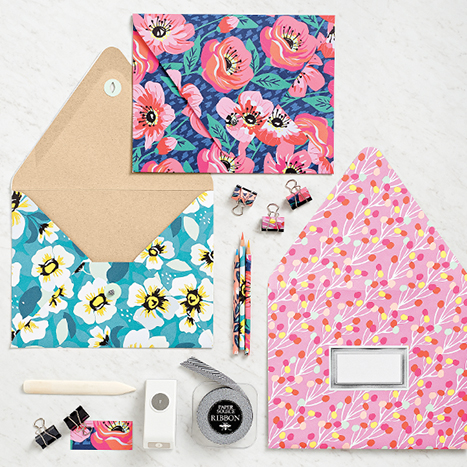
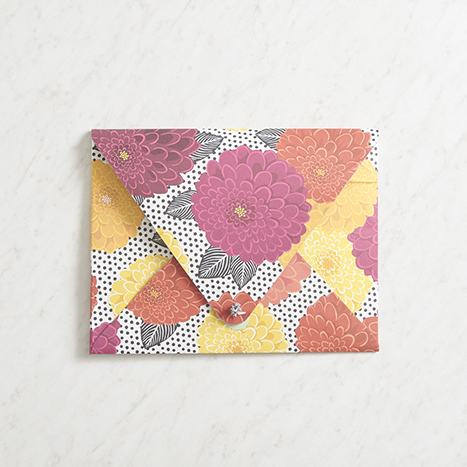
Our new Wrapping Paper Calendar makes a huge statement on the wall but it also has endless paper craft possibilities! Kickstart your crafternoon with a few ideas that will transform your calendar into 3 easy, yet stylish, desk accessories. Learn how below!
What You’ll Need
- Presentation Envelope
- Wrapping Paper Calendar
- 1/4″ Hole Punch
- 1″ Circle Punch
- Spray Adhesive
- Super Tacky Tape
- Ribbon
- Xyron 150 Sticker Maker (optional)
- Bone Folder
- Crafting Knife (optional)
- Pencil
- Scissors
Step 1
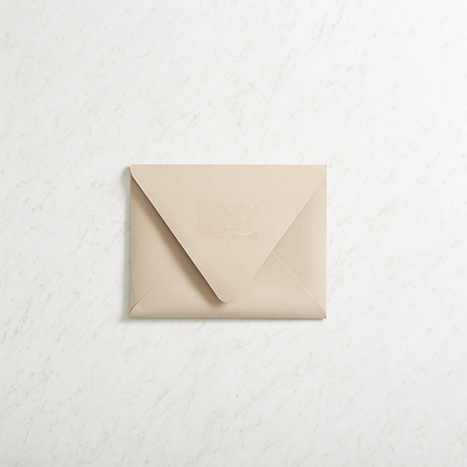
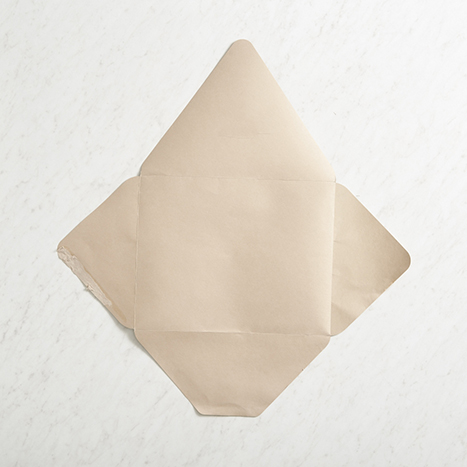
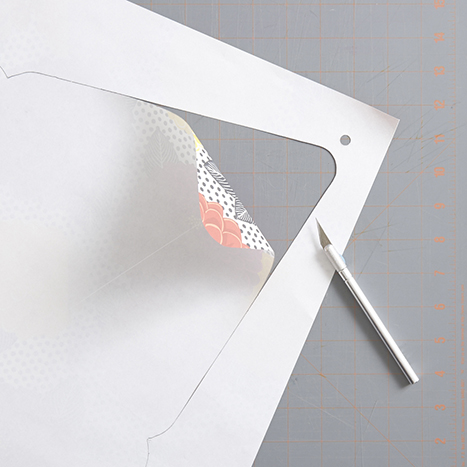
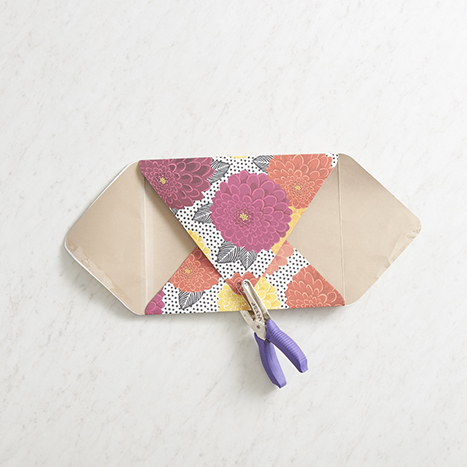
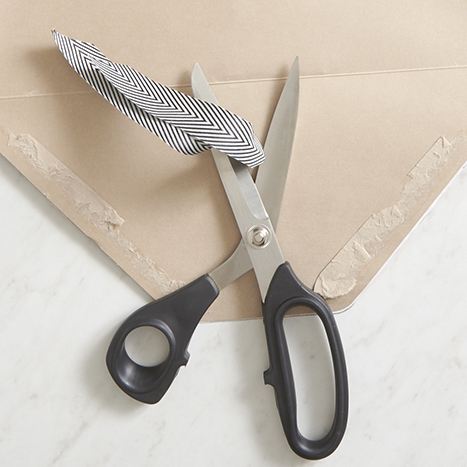
Dismantle presentation envelope carefully, keeping the flaps intact (try using a craft knife to gently loosen the flaps or steam the envelope to deactivate the glue).
Step 2
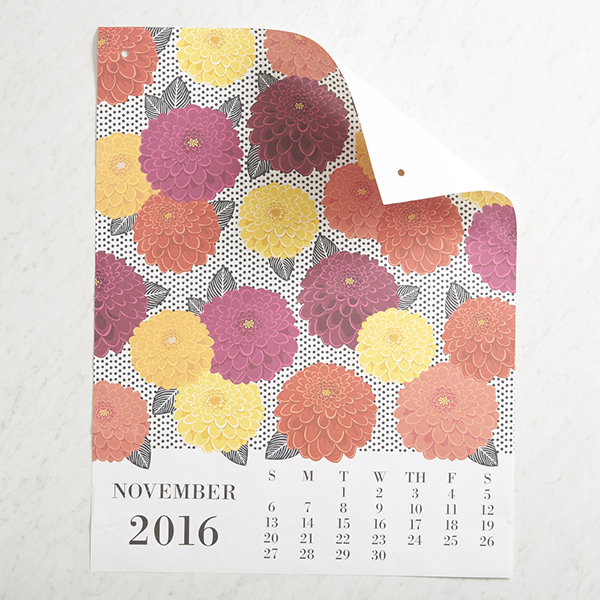
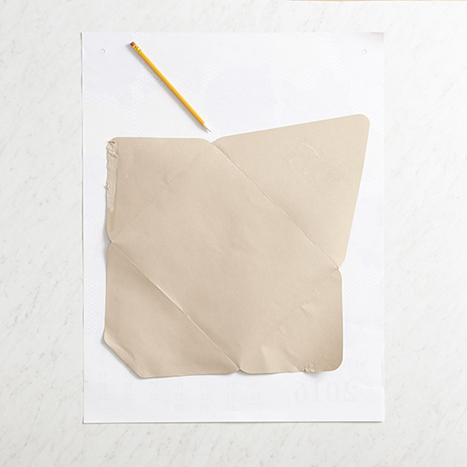
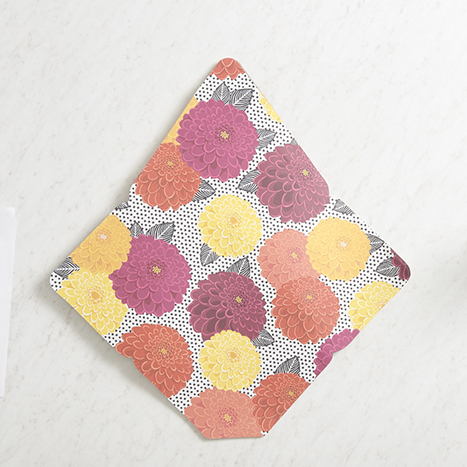
Lay the envelope flat on the month of your choice from the Wrapping Paper Calendar and trace it. Cut along the outline.
Step 3
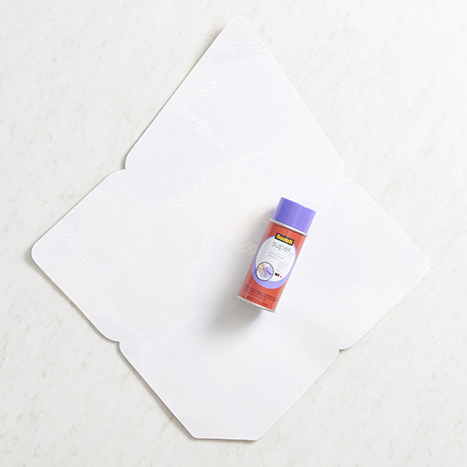
Once trimmed out, lay design side down with the blank side facing up. Coat with a thin layer of spray adhesive.
Step 4
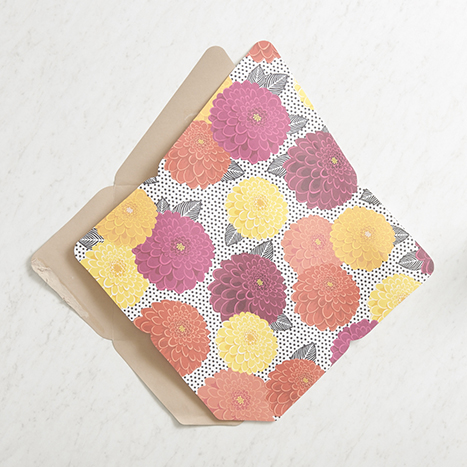
Adhere the decorative paper to the outside of the presentation envelope, lining up the edges and smoothing out any ripples.
Step 5
Create your portfolio fastener.
Step 5-A
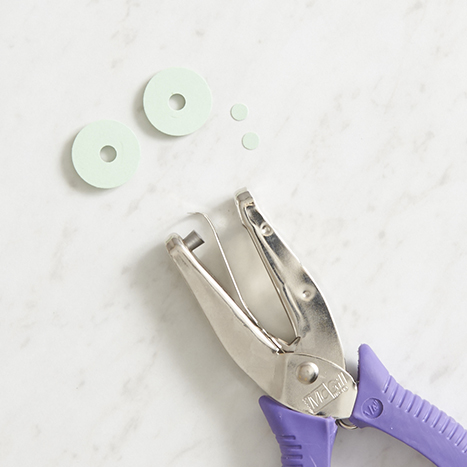
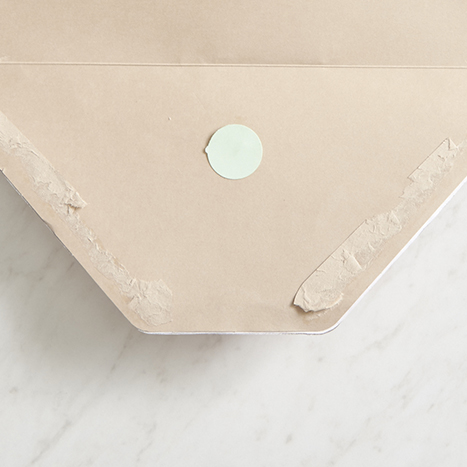
Using 1/4″ Hole Punch, punch the top flap and the bottom flap in the same place so the holes align when the envelope is closed.
Step 5-B
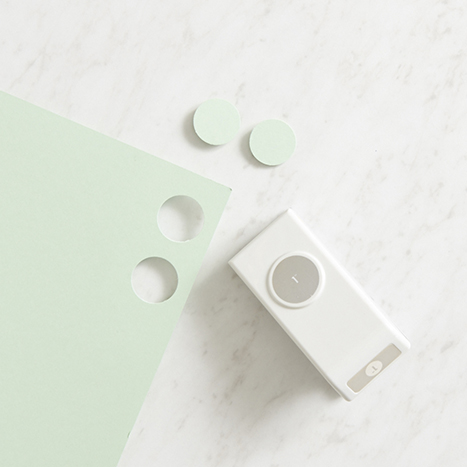
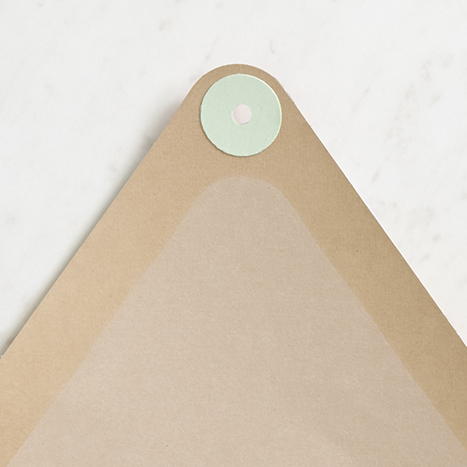
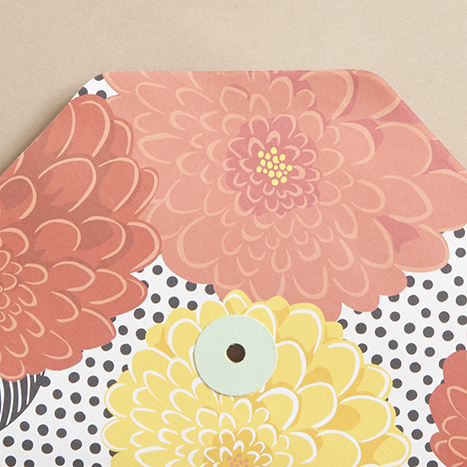
With the 1″ Circle Punch, punch out 4 circles and adhere them to both the inside and outside of the envelope where the 1/4″ holes are to reinforce them (we used the Xyron 150 Sticker Maker to adhere them to the envelope, but you can use any adhesive of your choice).
Step 5-D
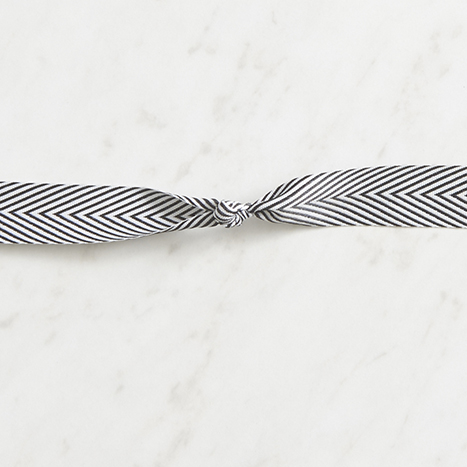
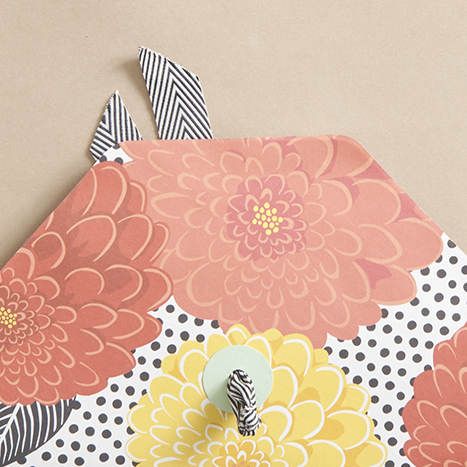
Tie the ribbon in a double knot and feed the tails through the bottom flap’s hole and seal it to the inside with a piece of scrap paper adhered over it to keep it in place.
Step 5-D
If needed, expand the hold in the top flap with a craft knife for your knot to fit through.
Step 6

Seal the bottom and side flaps shut with super tape.
Using leftover paper from the presentation envelope, trim down to size to cover binder clips and pencils for matching accessories!
Download and print this guide to take to your local Paper Source for easy shopping and crafting!


