Halloween is only a few weeks away, and we are already busy planning as many spooky shindigs as we can until All Hollow’s Eve! In order to prepare for the ghoul times ahead, our DIY expert Rebecca came up with fantastic and easy ways to create some party favors that will surely make your Halloween party extra festive.

Craft Bag
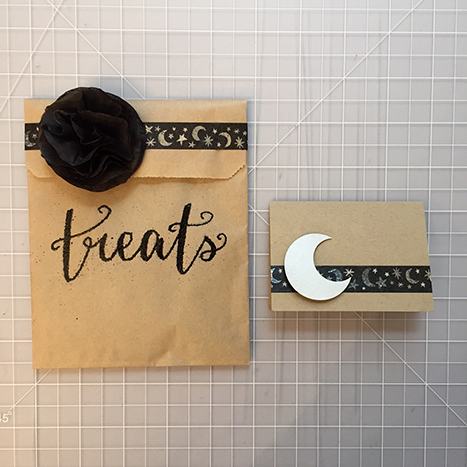
Craft Bags are perfect for decorating! Personalize these au natural gift bags this Halloween season with washi tape, stamps, tissue poms and more.
Materials:
Paper Bags
Floral Skull and Moon Washi Tape
Shimmer Paper
Embosser
Black Embossing Powder
VersaMarker Pen
Circle Whole Punch – 1 1/2″
Circle Whole Punch – 1″
Black Tissue Paper
Foam Squares
Steps:
1. Grab your plain craft bag and place the Floral and Moon Washi Tape at the top of the bag.
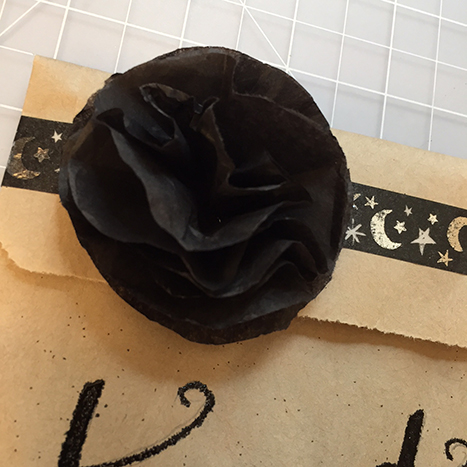
2. Place a small black tissue pom on top of the washi tape. Check out our how to blog post on tissue poms as a reference for this project.
3. Write a Halloween message with the VersaMarker pen and emboss with black embossing powder.
4. Create a moon for the place card out of shimmer paper (punch a 1 1/2” circle and take a bite out of if with the 1” punch) and attach with foam squares.
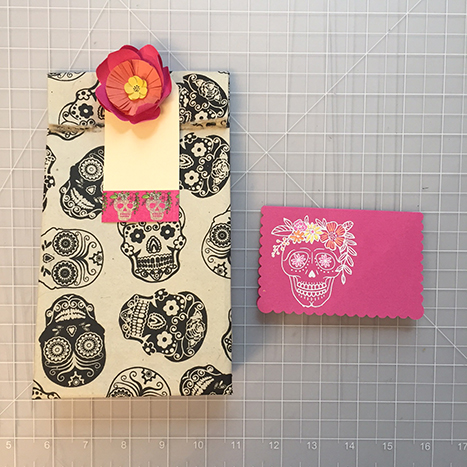
Sugar Skull DIY Bag
These DIY bags will allow you to add a personal touch to your Halloween party.
Materials:
Sugar Skull Fine Paper
Floral Skull and Moon Washi Tape
Manila Hang Tags
Scallop Cards
Embosser
Floral Skull Rubber Stamp
Gelly Roll Pens
1/8″ Hole Punch
Steps:
1. Get the sugar skull paper and fold the two short ends of the wrap to meet in the middle, edges overlapping. Seal with double-sided tape.
2. Fold and crease the bottom 2” – 3” upwards (this doesn’t have to be exact).
3. Open the bottom section and flatten the left corner into a triangle.
4. Repeat on the right corner. The creases in your triangle flaps should line up with the crease at the base of your bag.
5. Fold the top flap down just past the center crease.
6. Fold the bottom flap up, slightly overlapping with the top flap, and seal with double-sided tape.
7. Bring the top fold down to meet the bottom fold.
8. Starting at the bottom corners, fold in the sides of the bag to create 90 degree angles.
9. Open the bag and flatten the bottom.
10. Use a manila or black tag and decorate it with skull washi tape.
11. Fold over the top edge of the bag. Punch an 1/8” hole in the bag.
12. Thread the bag, tag with 1/4” satin ribbon and tie with a bow.
13. Use Fuschsia A2 scallop cards folded in half for a matching place card.
14. Embellish with the sugar skull stamp and gelly roll pens.
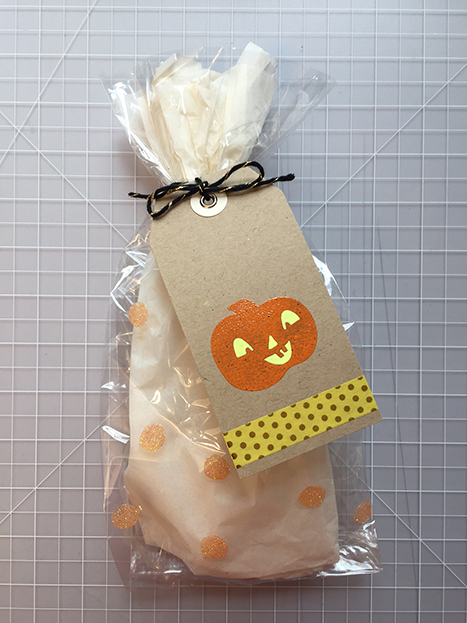
Cello Bags
These favor bags are perfect for kids parties and are a great way to give your guests some extra treats at the end of the festivities.

Materials:
Cello Bags
Halloween Friends Kit
Poppy Tissue Paper
White Tissue Paper
Twine
Zots
Glitter
Manila Hang Tags
Embosser
Jack-O-Lantern Stamp
Pumpkin Washi Tape
Steps:
1. Make a Halloween character using one of our kits.
2. Fill the bag with orange tissue, tie it with twine and adhere the character to the front.
3. Create glitter polka-dots on the next cello bag with Zots and orange glitter.
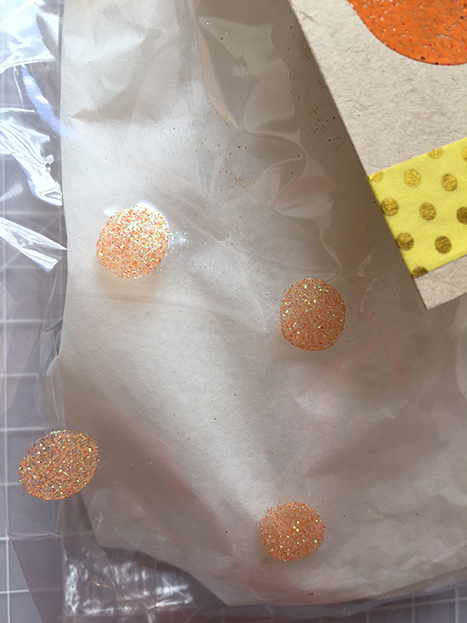
4. Make a tag with washi tape and Halloween stamps.
5. Add white tissue and tie it all together.
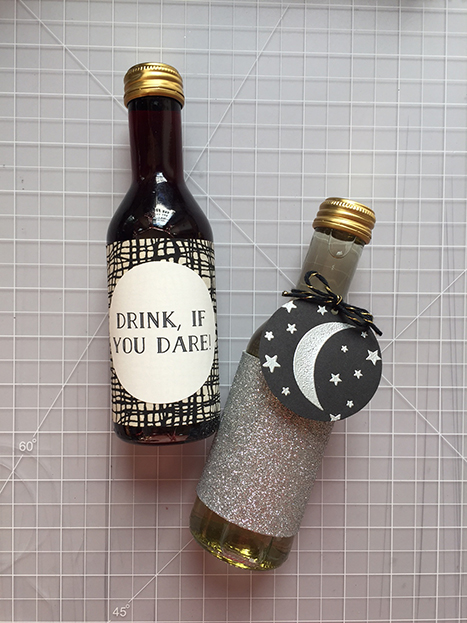
Bottle Wrap
Who said bottles had to look boring? It’s easy to add your own spooky touch to them!
Materials:
Black Glitter Wrapping Paper
Printed Label
Chalkstock Hang Tags
Circle Whole Punch – 1″
Moon and Stars Stamp
Gold and Black Twine
Double Sided Tape
Steps:
1. Wrap a 2 3/4” x 7 1/2” strip of wrapping paper around the bottle and adhere with double-sided tape.
2. Add a printed label on the wrapping paper and write a special message or your guests names.
3. Punch a hole in the hang tag and add a moon and stars stamp with the embosser.
4. Wrap the hang tag around the bottle with the gold and black twine.
Show us how you create and style your Halloween party this year using #PaperSource!


