The first night of Hanukkah is December 12th this year, and whether you’re throwing a party with friends and family or simply want to add some celebratory touches to your home, it can be hard to find decorations that are both festive and chic! Our friend Love Always, Audrey put together some easy DIY decorations that anyone can recreate on his/her own! Also – we’re partnering up with Audrey for a fun, holiday giveaway! Visit her Instagram page to see how to enter and you could be chosen to win a Paper Source gift card. Here’s Audrey!
Part of my goal this holiday season was to put together some Hanukkah decorations that weren’t cheesy, but I’ve found that Hanukkah DIY decorations are few and far between (at least for adults). I wanted to put together some DIYs that are classy and unique!
Have you heard of embossing? I’d heard bits and pieces around the crafting community, but hadn’t really tried it until I attended a Paper Source event in Lincoln Park last summer. In a nutshell, you use stamps, embossing powder, and an Embossing Heat Tool to set this powder to make it look SO pretty.
This process is super versatile – you can use it for so many different projects! Here’s how to do it with something easy, like a Hanukkah card:
1. Dip your stamp in this VersaMark Watermark Inkpad.
2. Stamp up your paper! I like to make it so it goes off the page a little bit, so having some background scrap paper to catch that is a must.
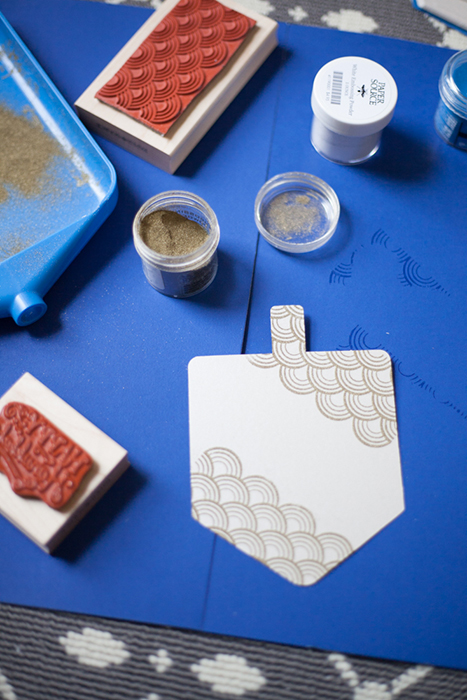
3. Cover your stamping area with embossing powder. I like gold for this one. Also, don’t forget a No Spill Tray Mate to keep reusing your powder.
4. Use another stamp if you want, and it can even be in a different color.
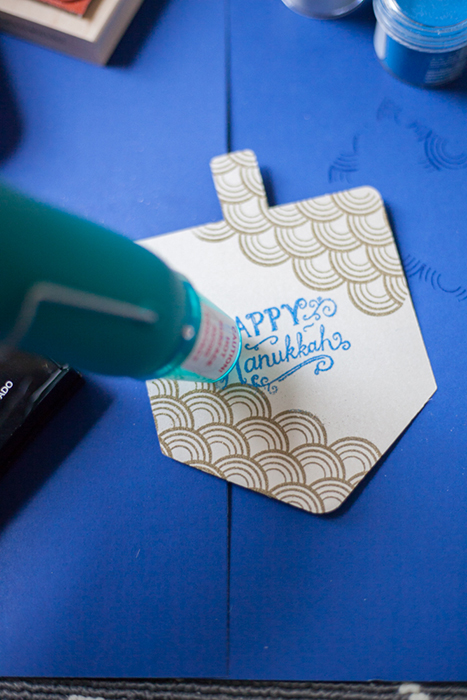
5. Use the Embossing Heat Tool to set the powder. You’ll know when it’s done.
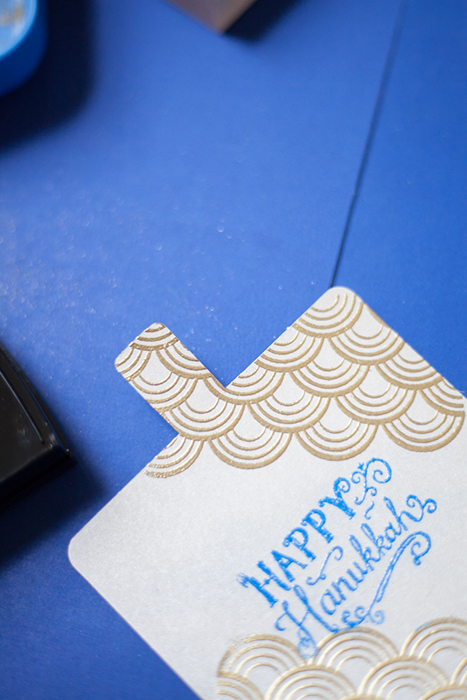
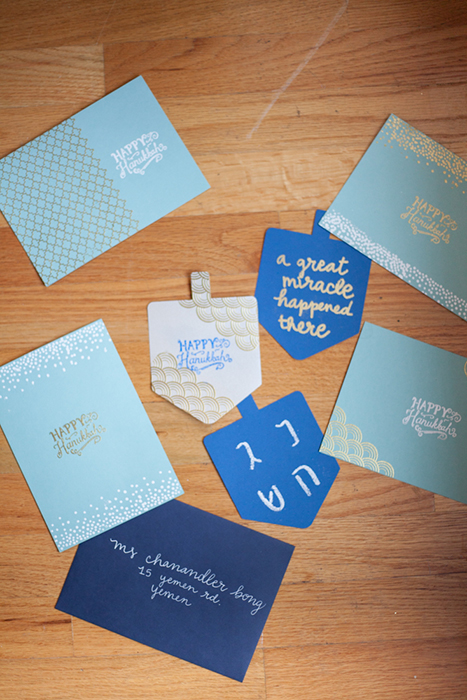
See how cool that looks?
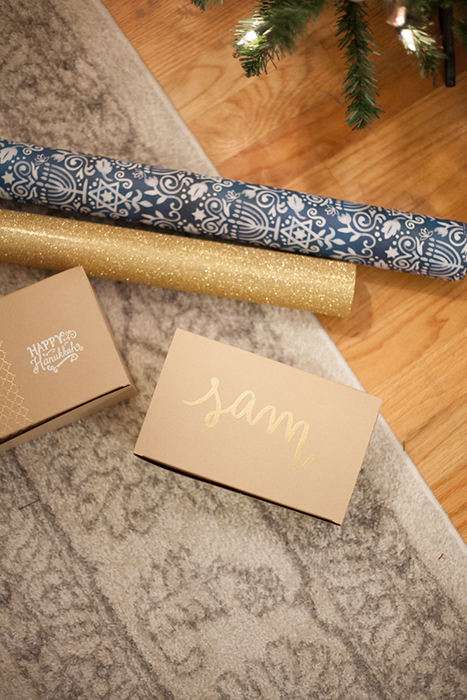
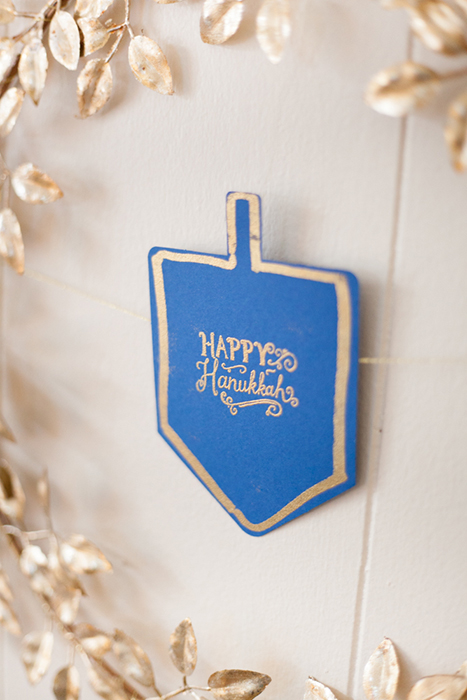
I used this VersaMarker Pen (made of the same ink as the inkpad for embossing) to write out a few things and emboss them! For example, my friend’s name on the Kraft treat box below, and writing out my own sayings on some of the dreidel cutouts!
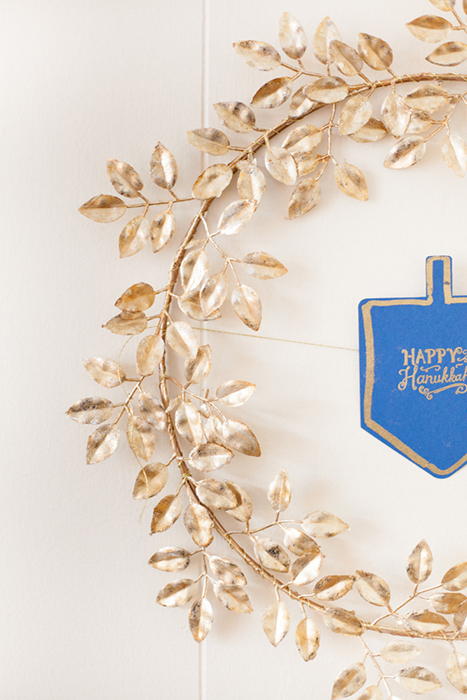
SO, after making all of these, I made a pretty wreath to hang up for Hanukkah.
I started with this hoop. I’m not sure of the exact name of it, but it’s in the floral design section at Michaels and was only a few dollars. They have a bunch of different sizes! You could also use an embroidery hoop if you need to.
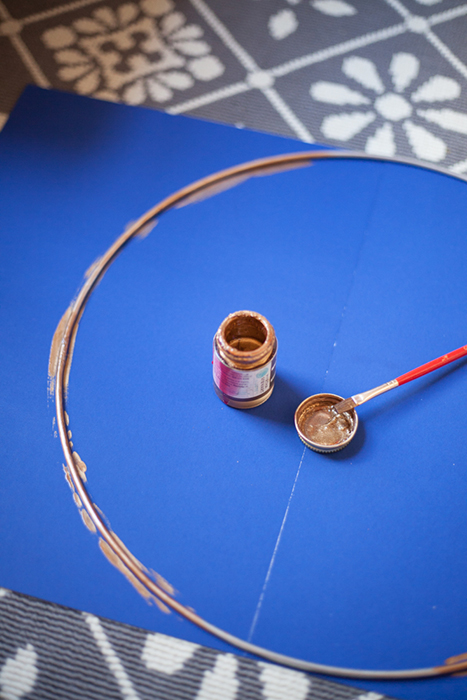
I took the hoop and painted it with some gold liquid gilding – this is one of my favorite craft tools and I use it all the time. I’ve had the same bottle for YEARS now and it never seems to be less than full. Magic? Maybe.
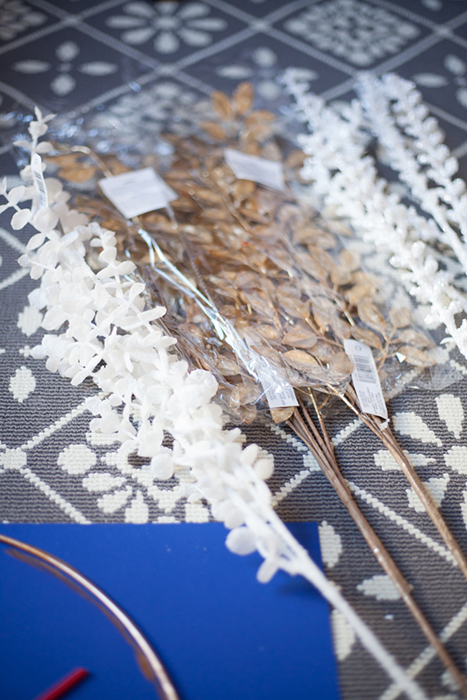
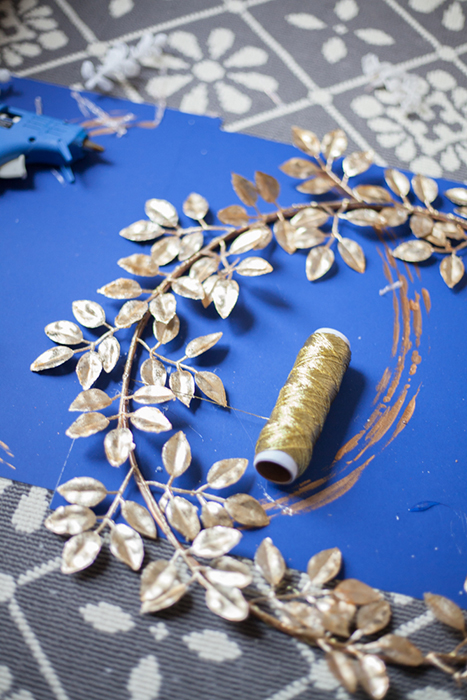
I picked up some faux florals from Michaels using a 40% off coupon and took apart the gold one. Then, I glued the branches to the hoop using hot glue. The hot glue didn’t make the two stick together like I had hoped, so I ended up taking some gold thread and wrapping it around the branches once they were in place. It made for a nice touch, anyways!
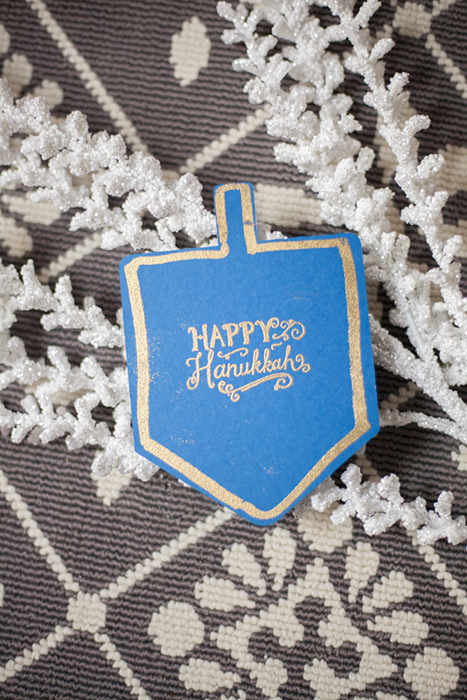
Then, I took one of the dreidels that I had decorated with the embossing technique, and strung it in the center of the wreath. It turned out so pretty and delicate, and not at all obnoxious! At least in my opinion, ha!
Now that your creative wheels are spinning, what project would you make with embossing powder? The possibilities are truly endless!
Audrey is an Arizona girl turned Chicagoan, and loves DIY projects, coffee, calligraphy, exploring Chicago, and dabbling in yoga. She works full time in digital marketing, but spends her spare time blogging over at Love Always, Audrey.


