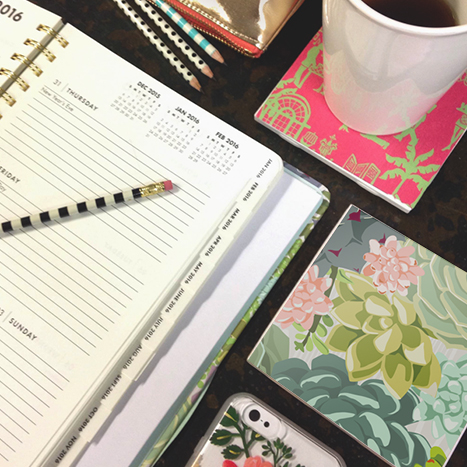
As I turn the final page on my planner and flip the final month on my calendar, I am always excited, not just at the prospect of it being a new year, but also for the opportunity to buy a cute new calendar and planner. While Paper Source has me covered when it comes to beautiful products to replace my 2015 items, there is still that twinge of guilt when it comes to tossing out the old to make room for the new – there’s a reason I chose those artfully chic calendars and planners the year prior, and it pains me to see them get discarded. I can’t be the only one, though, right?
Don’t cast aside those 2015 calendars and planners just yet, though! It’s about time to upcycle old datebooks, and I’m here to give you a few ways as to how to keep those designs alive for a bit longer (if not forever)!
Colorful Coasters
Prevent water stains on your furniture in a simple and stylish way with DIY coasters, brightened up with your 2015 calendars and planners!
You’ll need:
- An old calendar or planner (I used the Wall Art Calendar and the Lilly Pulitzer Planner)
- Mod Podge
- Scissors
- 4″ x 4″ tiles (available at most hardware stores)
- Felt
- Hot glue gun
- Brush
- Waterproof clear sealer spray
- Ruler
Steps:
- Cut your calendar or planner art to size (to cover the entire top of the tile, cut to 4″ x 4″). Set paper aside.
- Using your brush, paint a layer of Mod Podge on the smooth surface of the tile. Before it dries, adhere the trimmed paper on top of the tile and smooth. Add another even layer of Mod Podge over the paper (Mod Podge dries clear, so don’t worry about applying thick layers).
- Let dry for 10 minutes, then apply another layer of Mod Podge.
- Once the tile has completely dried, spray the tile with a layer of waterproof clear sealer (follow manufacturer directions for proper usage). Let dry for 24 hours.
- To prevent tiles from scratching table tops, cut 4″ x 4″ squares of felt and adhere to the bottom of your coasters using your glue gun.
Gorgeous Gallery
We’ve all seen beautiful home gallery walls on Pinterest but brush it off as a daunting project for someone with bare walls (and a small art budget)! Trim down your favorite calendar and planner art into various sizes to fit into an array of frames- perfect for creating a magazine-worthy gallery wall.
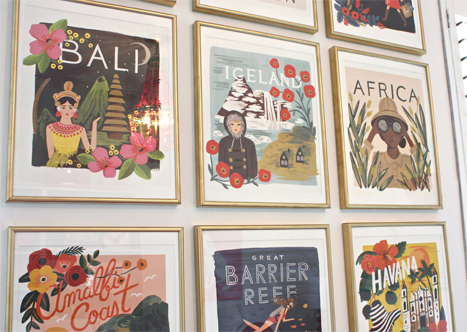
Image courtesy of The Creativity Exchange
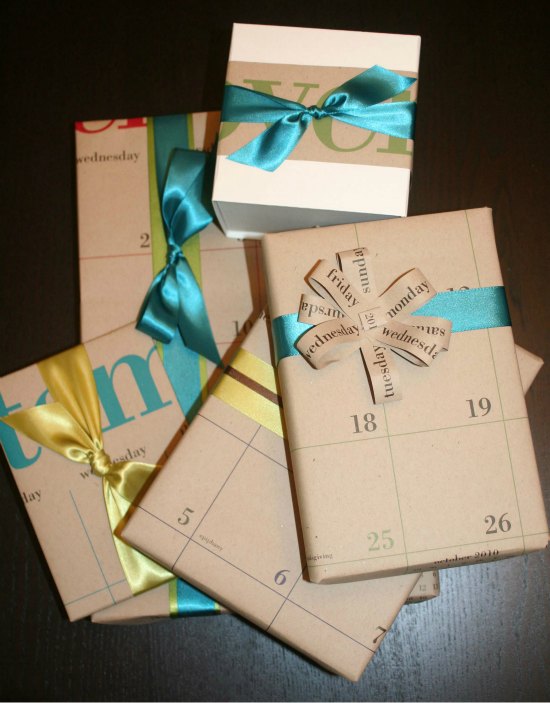
Pretty Wrapping Paper
For a fun twist on wrapping paper, try removing your favorite images from your calendars and planners to reuse as gifts tags or adornments on birthday gifts, making them seem a bit more special! Try wapping their present in a calendar page from their birthday month for a really personal touch. Whether it’s turned into an accent on your wrappings or reworked into a bow, your calendar now has a second life! Check out our previous blog for more detailed ideas!
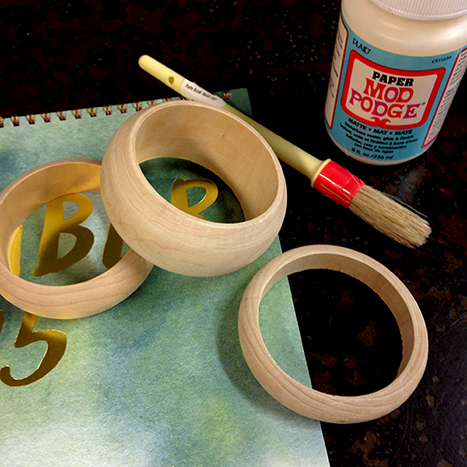
Beautiful Bangles
There is always that one month that is decorated with artwork that is just too beautiful that I find it difficult to turn the page when the time is up. Show your love for that design (and show it off) with an easy DIY wooden bangle!
You’ll need:
- An old calendar or planner (shown here is the Watercolor Calendar)
- Wood Bangle
- Mod Podge
- Scissors
- Brush
Steps:
- Cut your calendar or planner art into 3/4″ to 1″ thick strips, keeping them long enough to wrap around the width of the bangle and to fold over into the inside of the bangle.
- Take your Mod Podge and apply a thin layer to the back of a strip of paper. Adhere the strip to the bangle, folding over the extra paper into the inside of the bangle.
- Repeat this process until your bangle is completely covered with paper and apply one last layer of Mod Podge to seal the bangle.
Trusty Templates
If you’ve purchased the Paper Source Wall Art Calendar, the upcycling is even simpler – templates are on the back of each month so you can easily create a variety of items like cards, bookmarks, and even file folders! Grab one for 2016 to make next year’s upcycling even easier!
Give one of these upcycles a go, or create one yourself, and let us know how you do on social media using #YesToPS


Great ideas. Love this!
Love these!! I can’t wait to make some up-cycled bangles!!
Have u tried mod podging onto the clear soda bottle bangles u can make? I think u iron the cut edges of the plastic. I bet this could work well!
We haven’t tried that, Kristi, but that’s another great idea for upcycling calendars into bangles. If you end up making your own version, we’d love to see how it turns out!
Where is a source for Paper Source calendars in San Francisco? or hear to?
Where is a source for Paper Source calendars in San Francisco? or hear to?
– See more at: https://blog.papersource.com/diy/upcycle-calendars-planners-2015/#comment-594215
Totally going to do all of these!