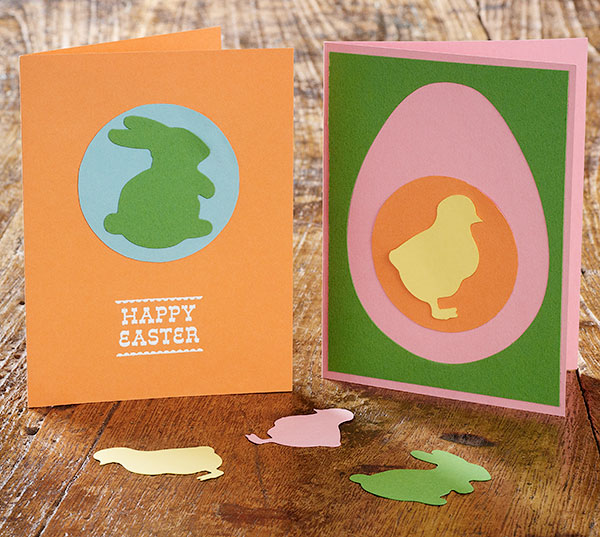
We are bringing in the Easter holiday with our latest how-to — a handmade Easter greeting card! This project is suitable for little hands to help, and works with varying card colors too. Between this creative fun and our seasonal gifts, we’re hoping your bunny ears are perked and you’re ready to celebrate Spring!
Materials Needed:
- Easter Greeting How-To PDF
- Bunny & Chick Easter Ornament Kit
- A2 Folded Card (your choice of color)
- A2 Envelope (your choice of color)
- 2 1/2″ Round Labels in color of choice
- Happy Easter Rubber Stamp
- Inkpad of choice
- Ruler
- Cutting Mat
- Craft Knife or Paper Cutter
- Glue Stick
- Follow the assembly diagram outlined on the Easter Greeting How-To PDF, then use the left over punched out sheets and shapes from the kit to create simple Easter greetings.
Option 1:
- Cut a 4″ x 5 1/4″ rectangle from the punched out sheets leaving the negative shape of the egg at the center.
- Option 2:
- Adhere a 2 1/2″ round label to the center of an A2 folded card and top with a bunny or chick shape.
- Stamp card using Happy Easter stamp.
- -Claudia
Favorite PS colors: curry & fuchsia
Latest Fave: Red & White Paper Straws


