How To Make Custom Gift Bags
Beginner
Estimated Time: 5 minutes
Make custom gift bags to match any occasion! Use the below guide to add a personal (and pretty) touch to your next soiree.
No birthday party is complete without a well-stocked goodie bag. The only thing that could make your parting gifts more festive for friends and family? Making them yourself. With a simple lineup of supplies in your craft room, you can make custom gift bags to match any occasion. Use the below guide to add a personal (and pretty) touch to your next soiree.
How To Make Custom Gift Bags
Step 1
Create Top of Bag
Choose your fine paper. Flip the paper over and fold it in half to find the middle point. To create the top of your bag, flip over the bottom of the paper (about an inch) then fold the sides into the center point, overlapping slightly. Secure the overlap with your tape runner.Step 2
Create Bottom of Bag
To create the bottom of the bag, fold up the bottom of the bag 2 to 3 inches, then open the two sides of the paper. Gently pinch the sides in to create indented, puckered folds on both sides, then flatten the folds down to create triangular shapes.Step 3
Add Adhesive
Fold each piece of the bottom in towards the middle, then secure with the tape runner.Step 4
Create Shape and Structure
Fold in each side of the bag by one inch to create creases for shape and structure. Add a piece of cardstock to the bottom of the bag to make it sturdy.Step 5
Create Holes for Ribbon Handles
To create ribbon handles, punch two equally spaced holes at the top on each side. tie a ribbon of your choice through the holes, knotting at the inside of each one.Step 6
Create Ribbon Handles
Tie a ribbon of your choice through the holes, knotting at the inside of each one.Step 7
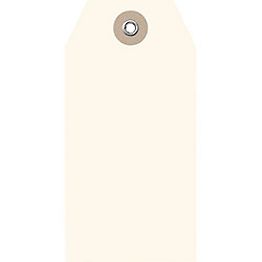
Finishing Touches
Create a label using a Petal Point Inkpad and a to/from stamp on a hang tag. Add a fun, festive tissue paper.Shop This Project
Check items to add to the cart or