

How To Make a Paper Rosette
Beginner
Estimated Time: afternoon
Decorate your next party with DIY Paper Rosettes. Use different colors of papers to personalize your party decor.
How To Guide
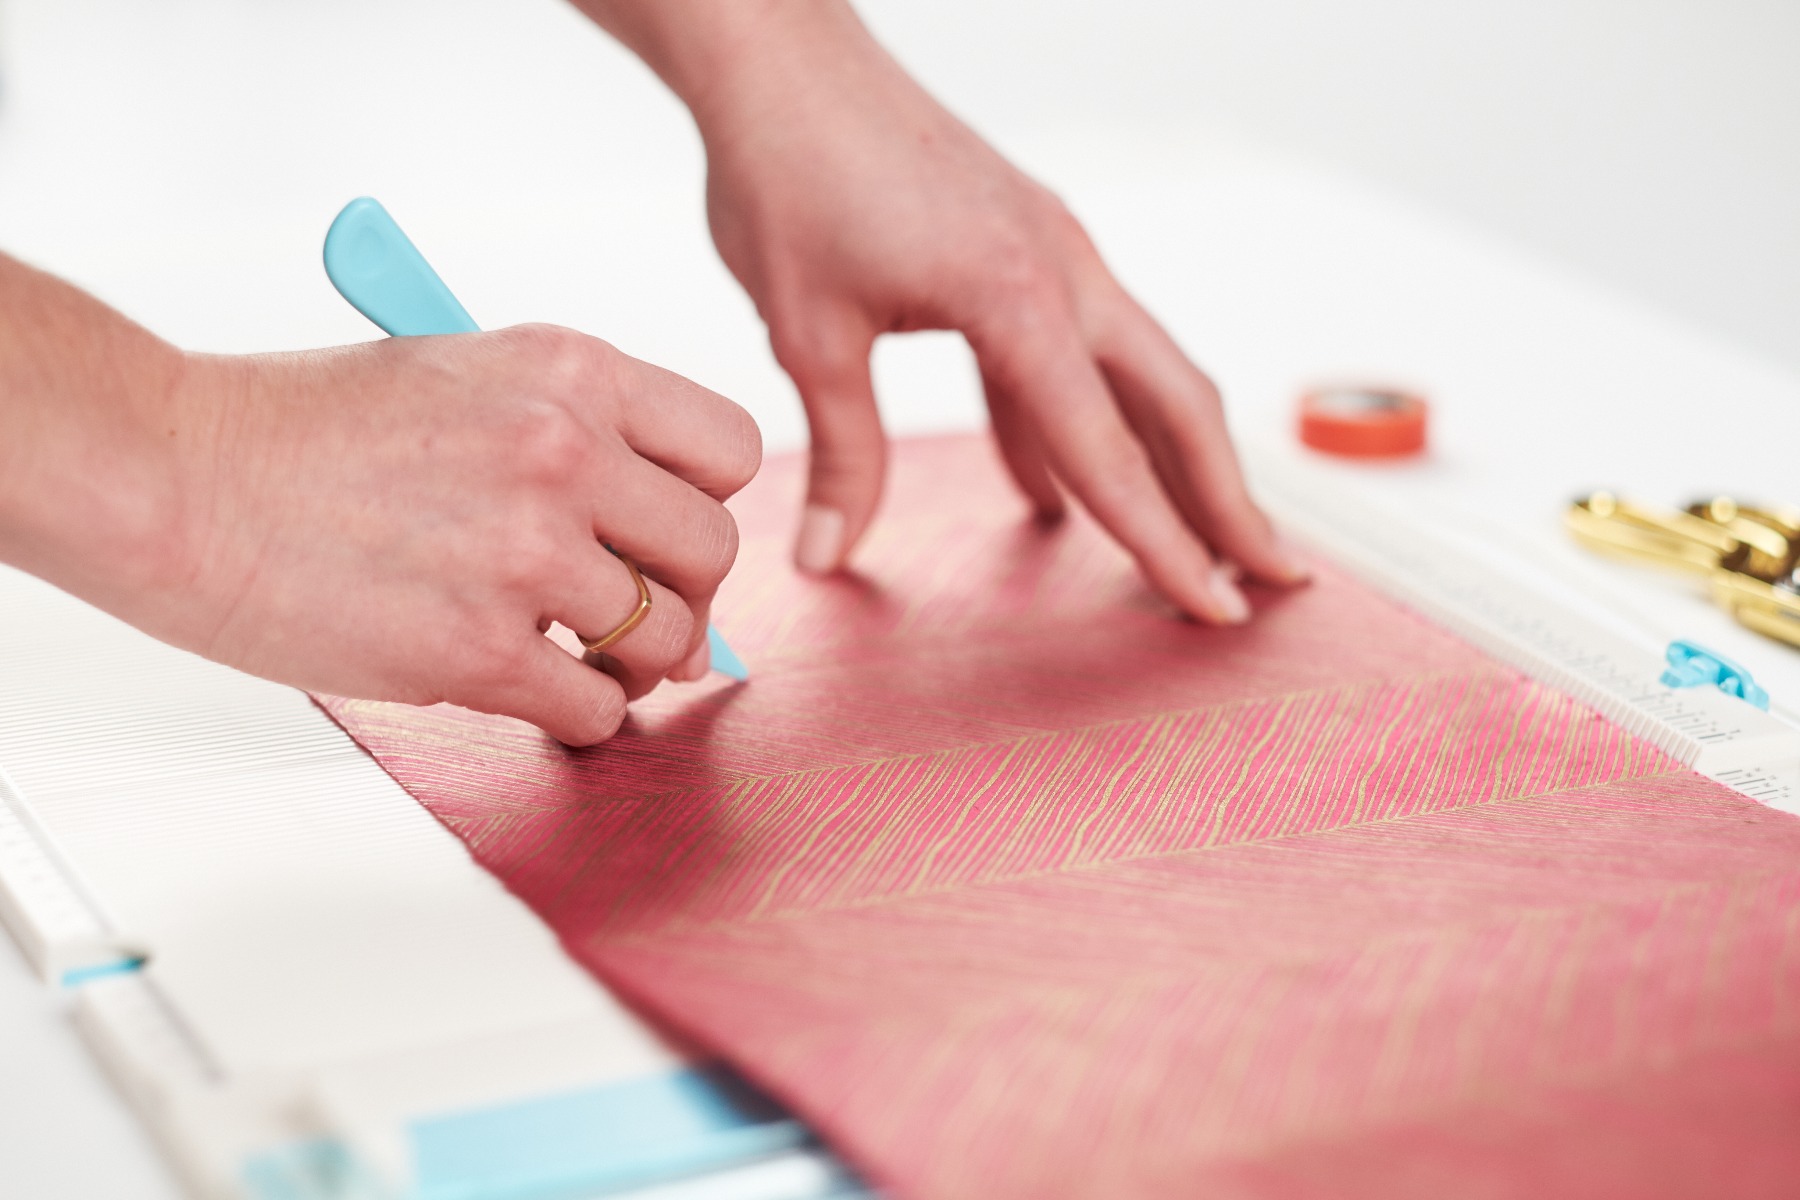
Step 2
Shift
If your paper is longer that the scoring board is wide, shift paper over and align score mark to edges when you run out of space.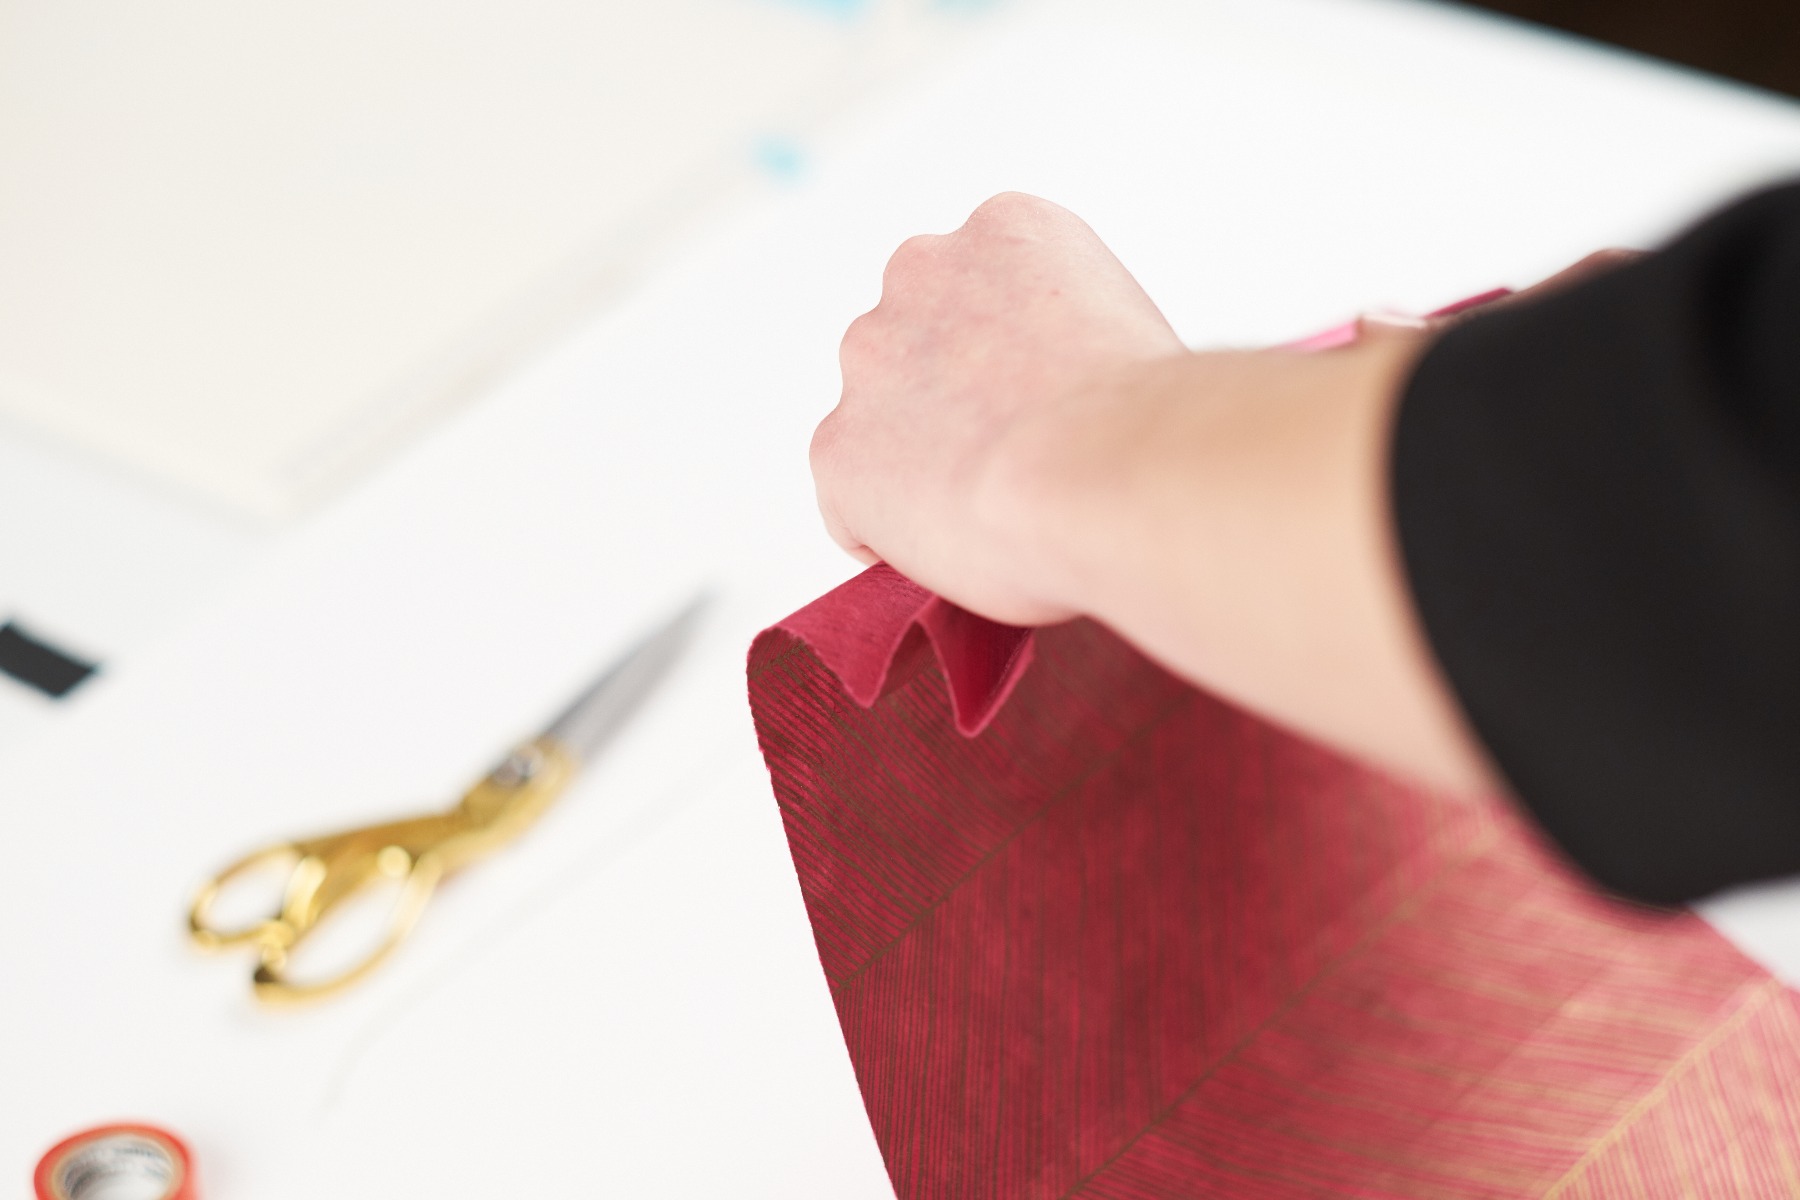
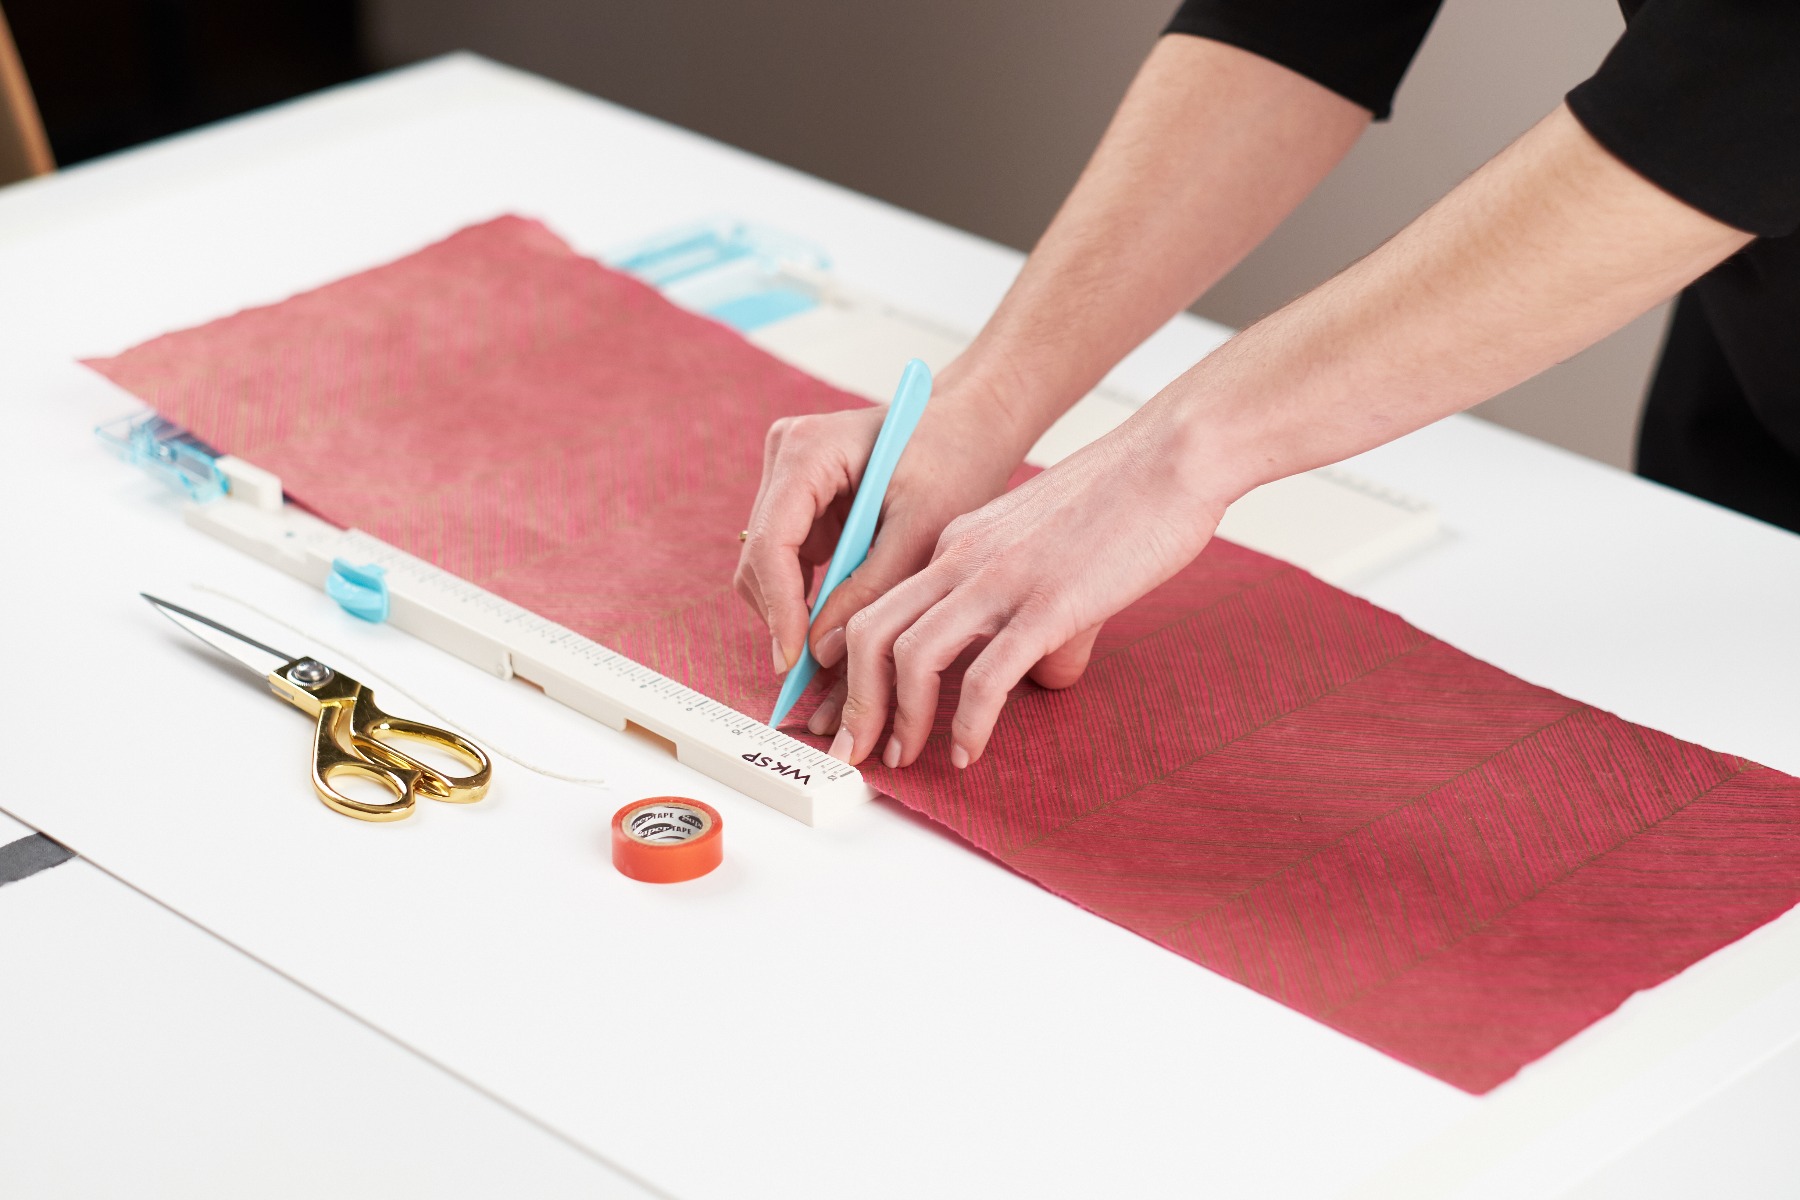
Step 3
Fold
Accordion fold along the score marks, alternating directions at each fold.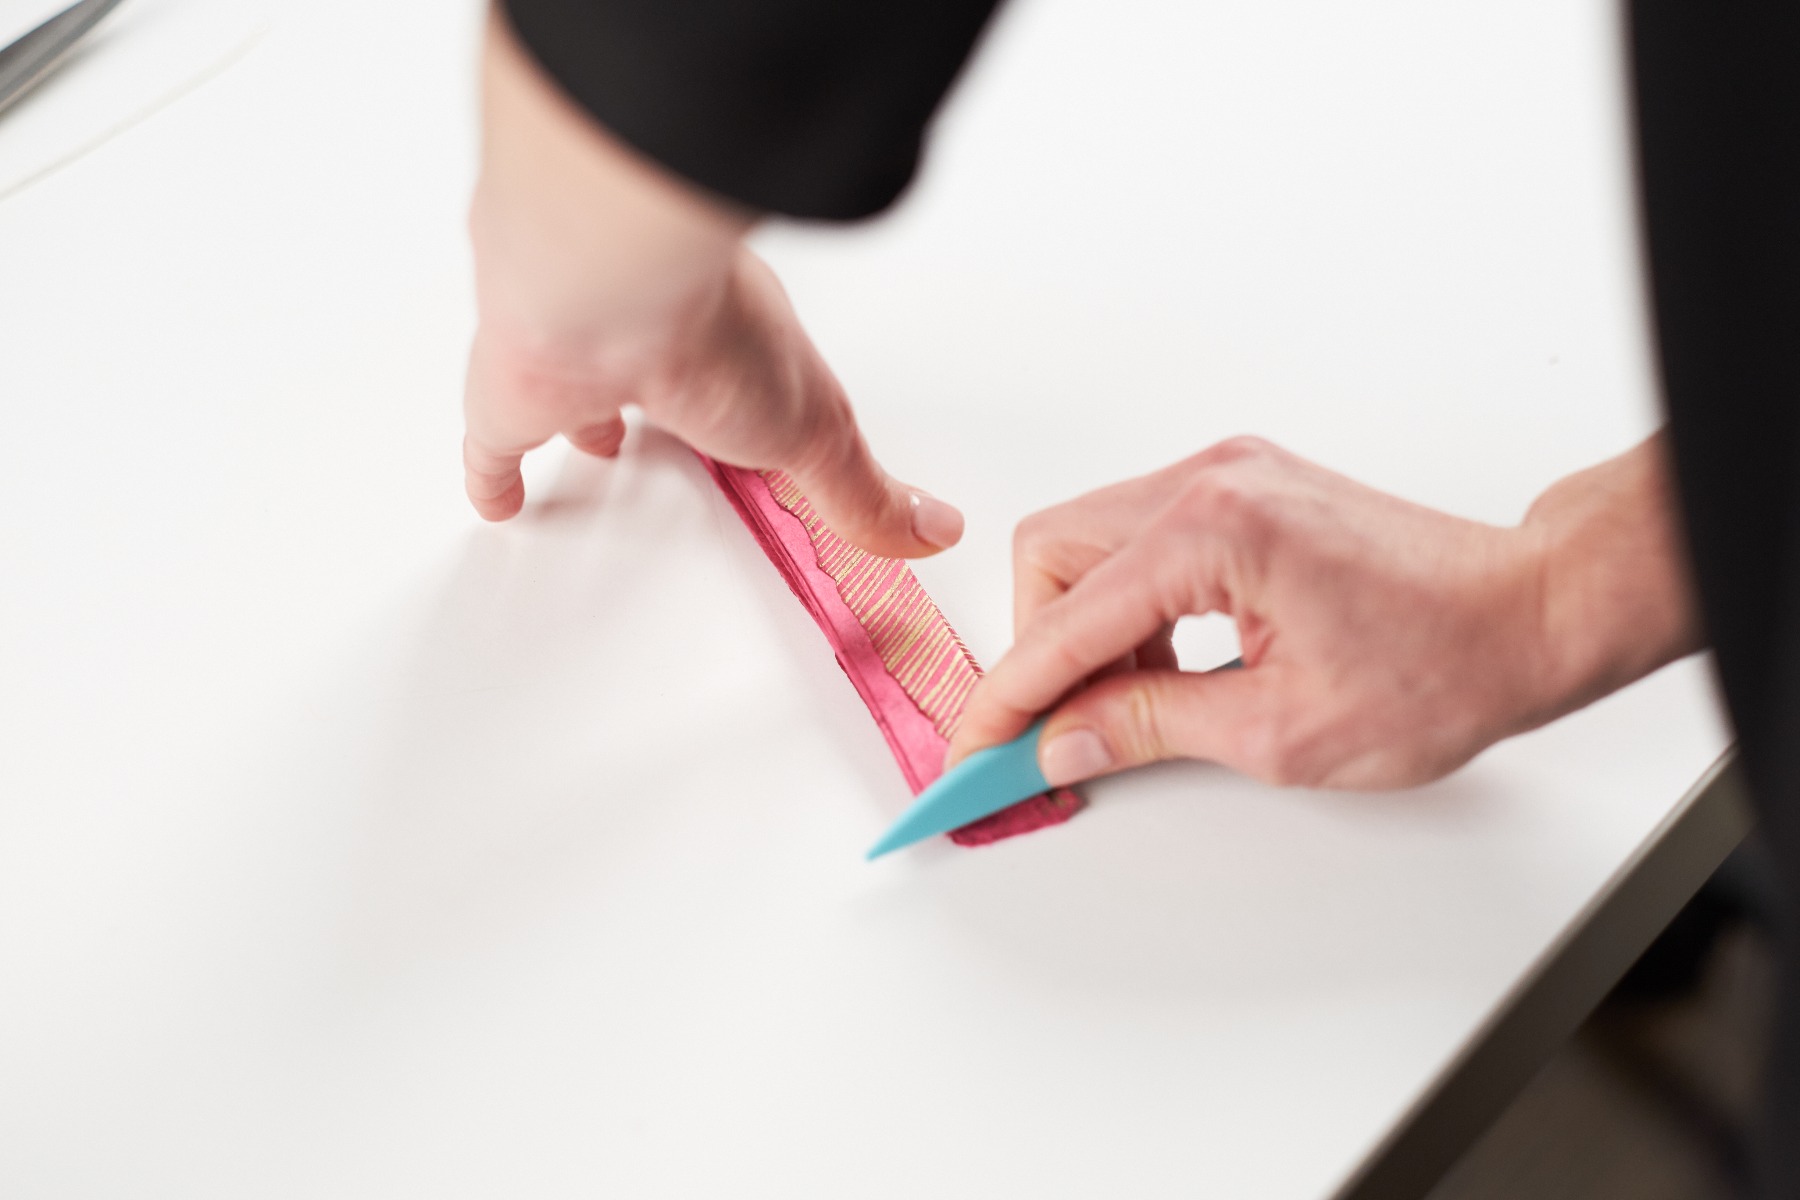
Step 4
Crease
Make sure folds are crisp by pressing down and gliding score tool over folds.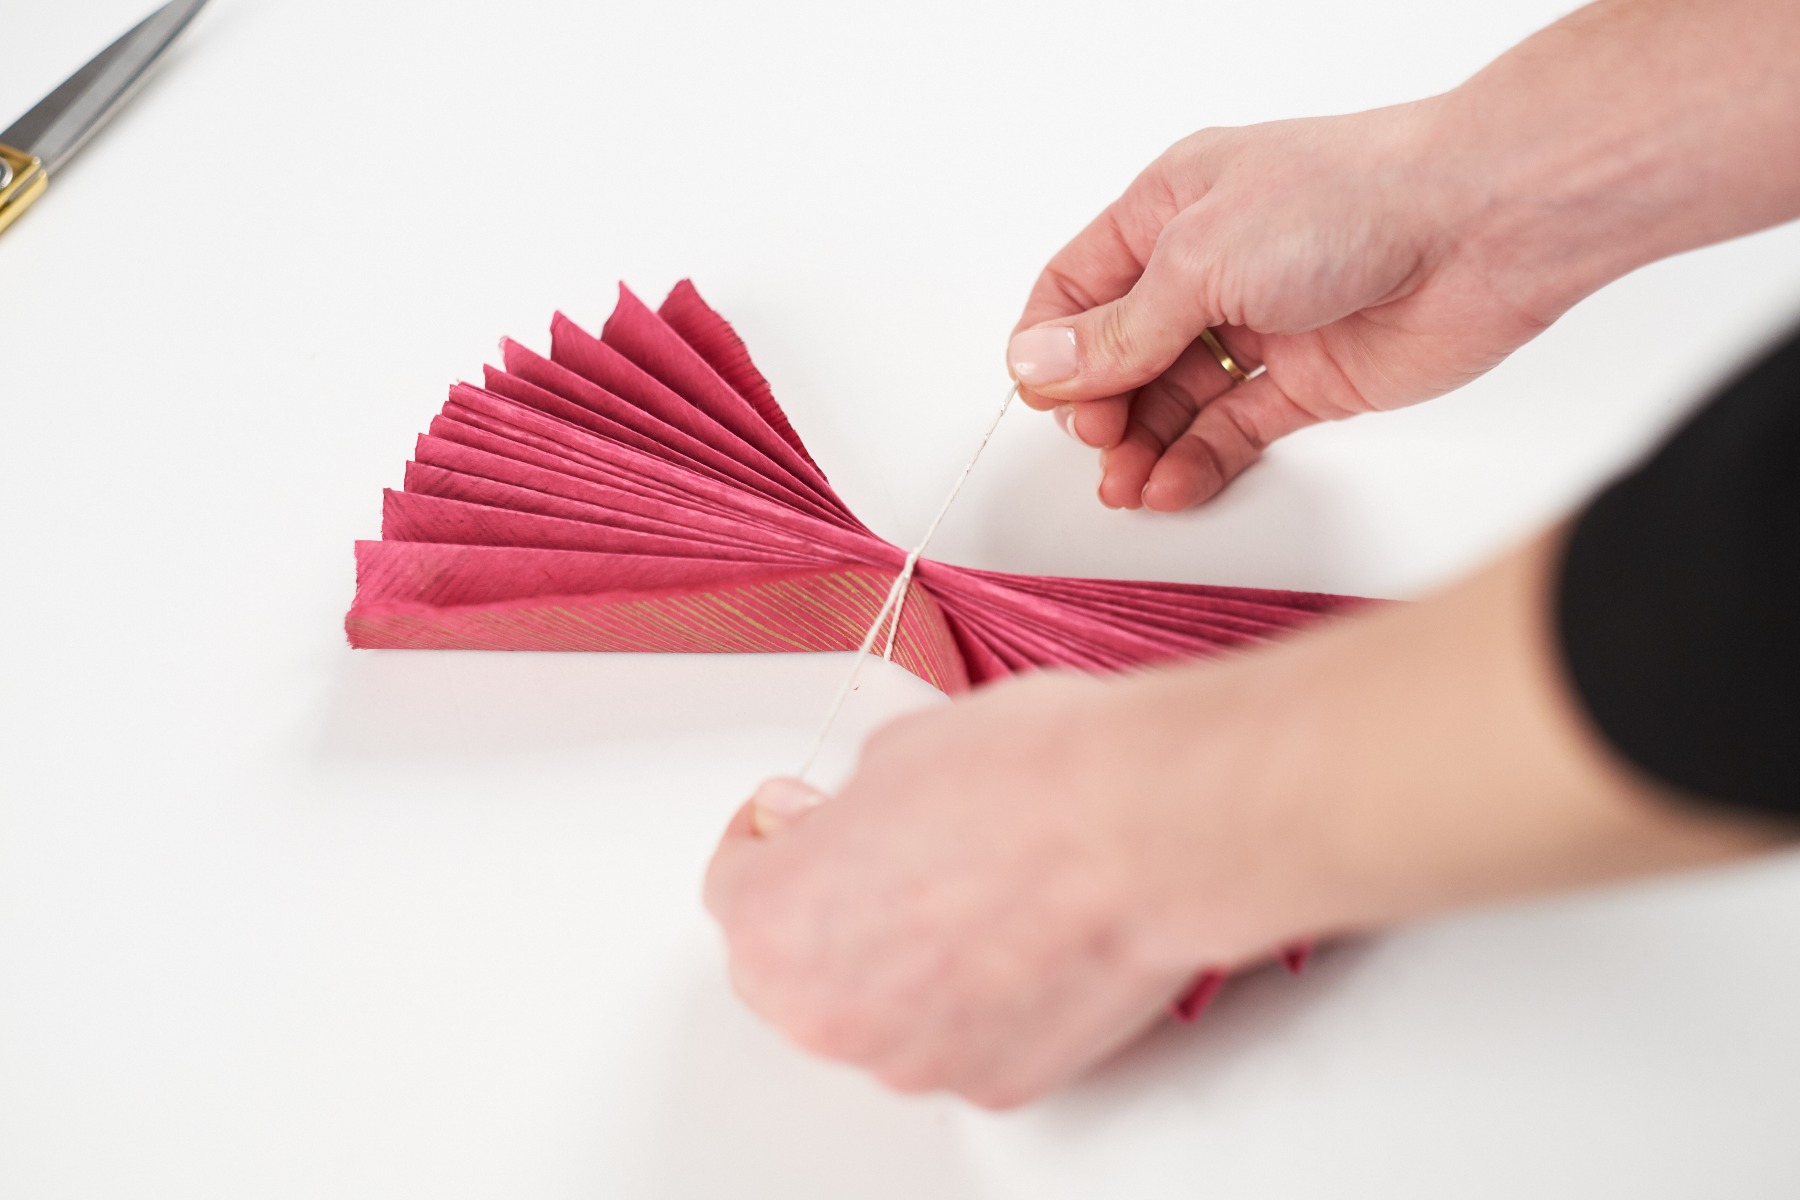
Step 5
Tie
Tie center of paper tightly with twine and trim excess twine.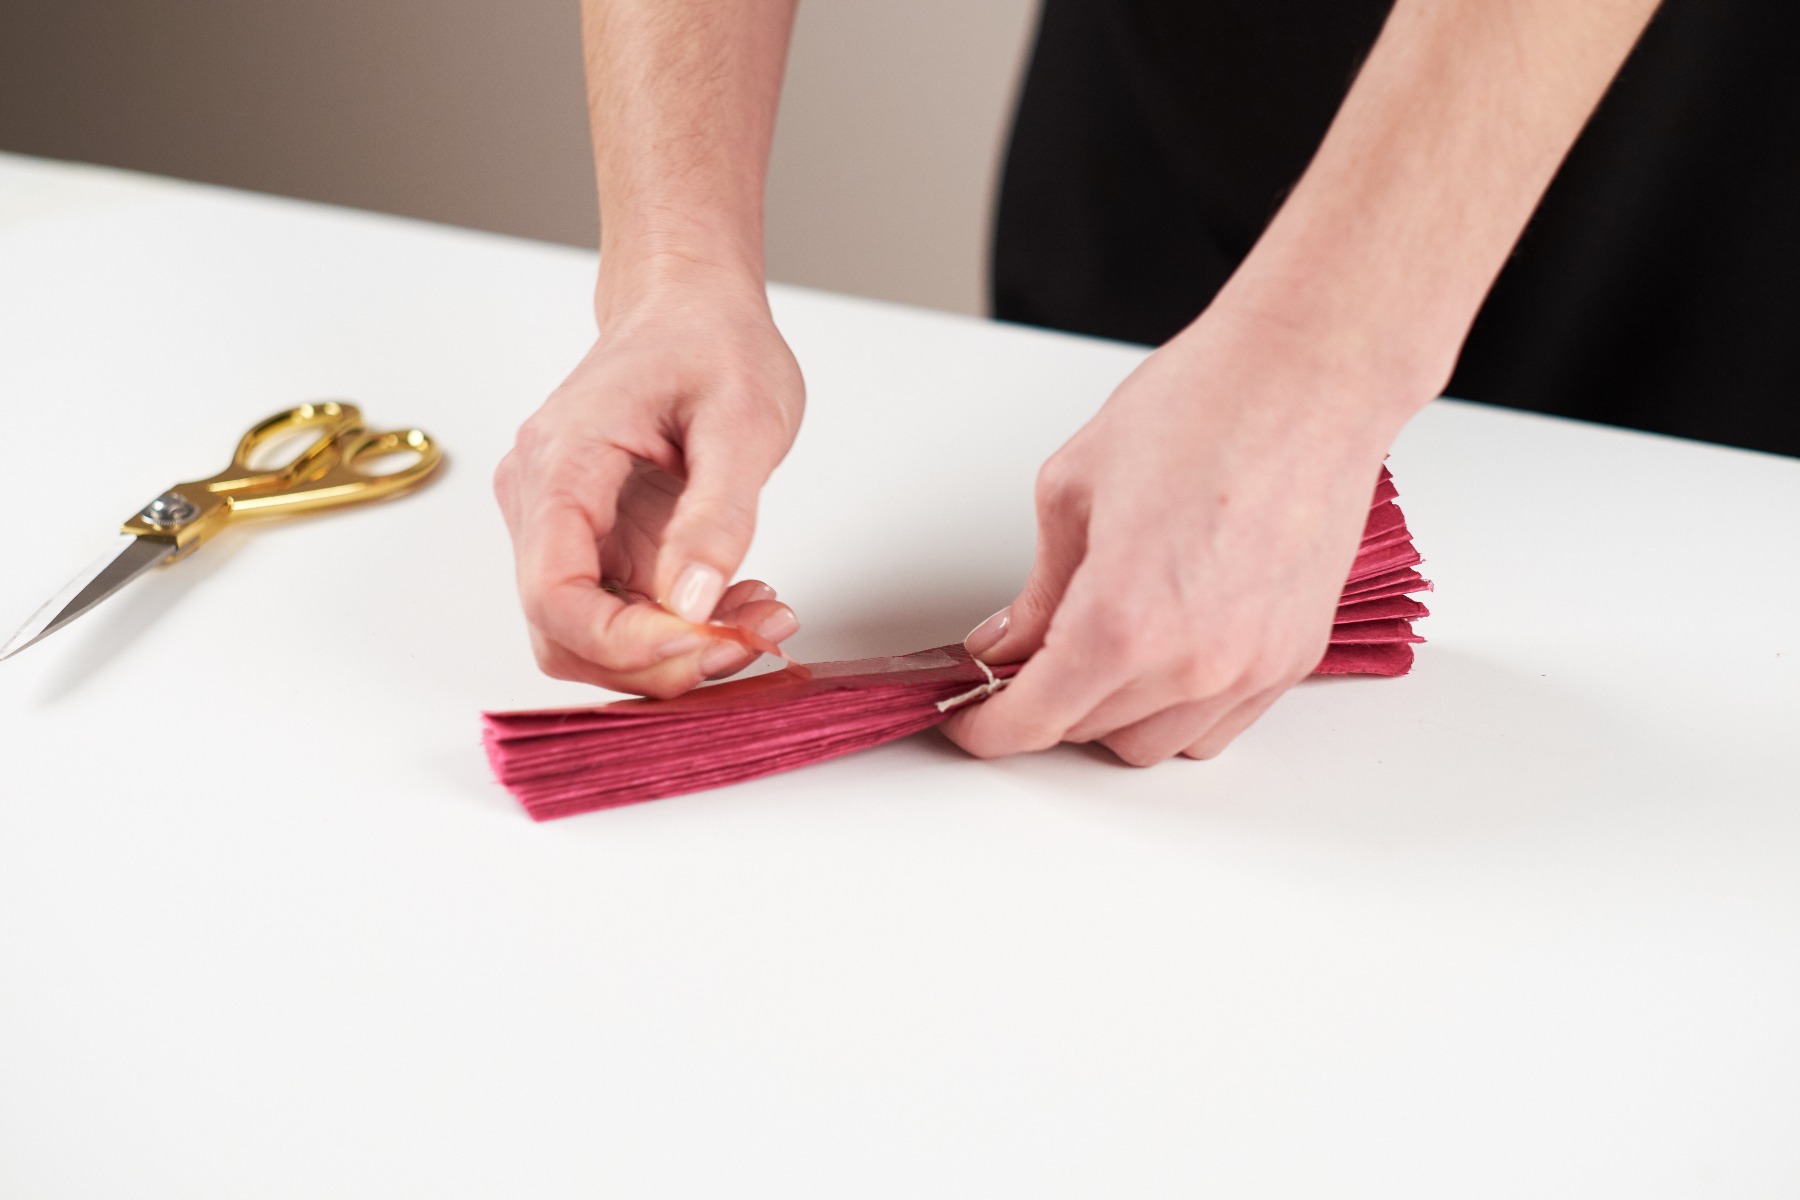
Step 6
Tape
Run a strip of super tape along half of the finished edge of the rosette (from center twine to edge). Then peel off backing.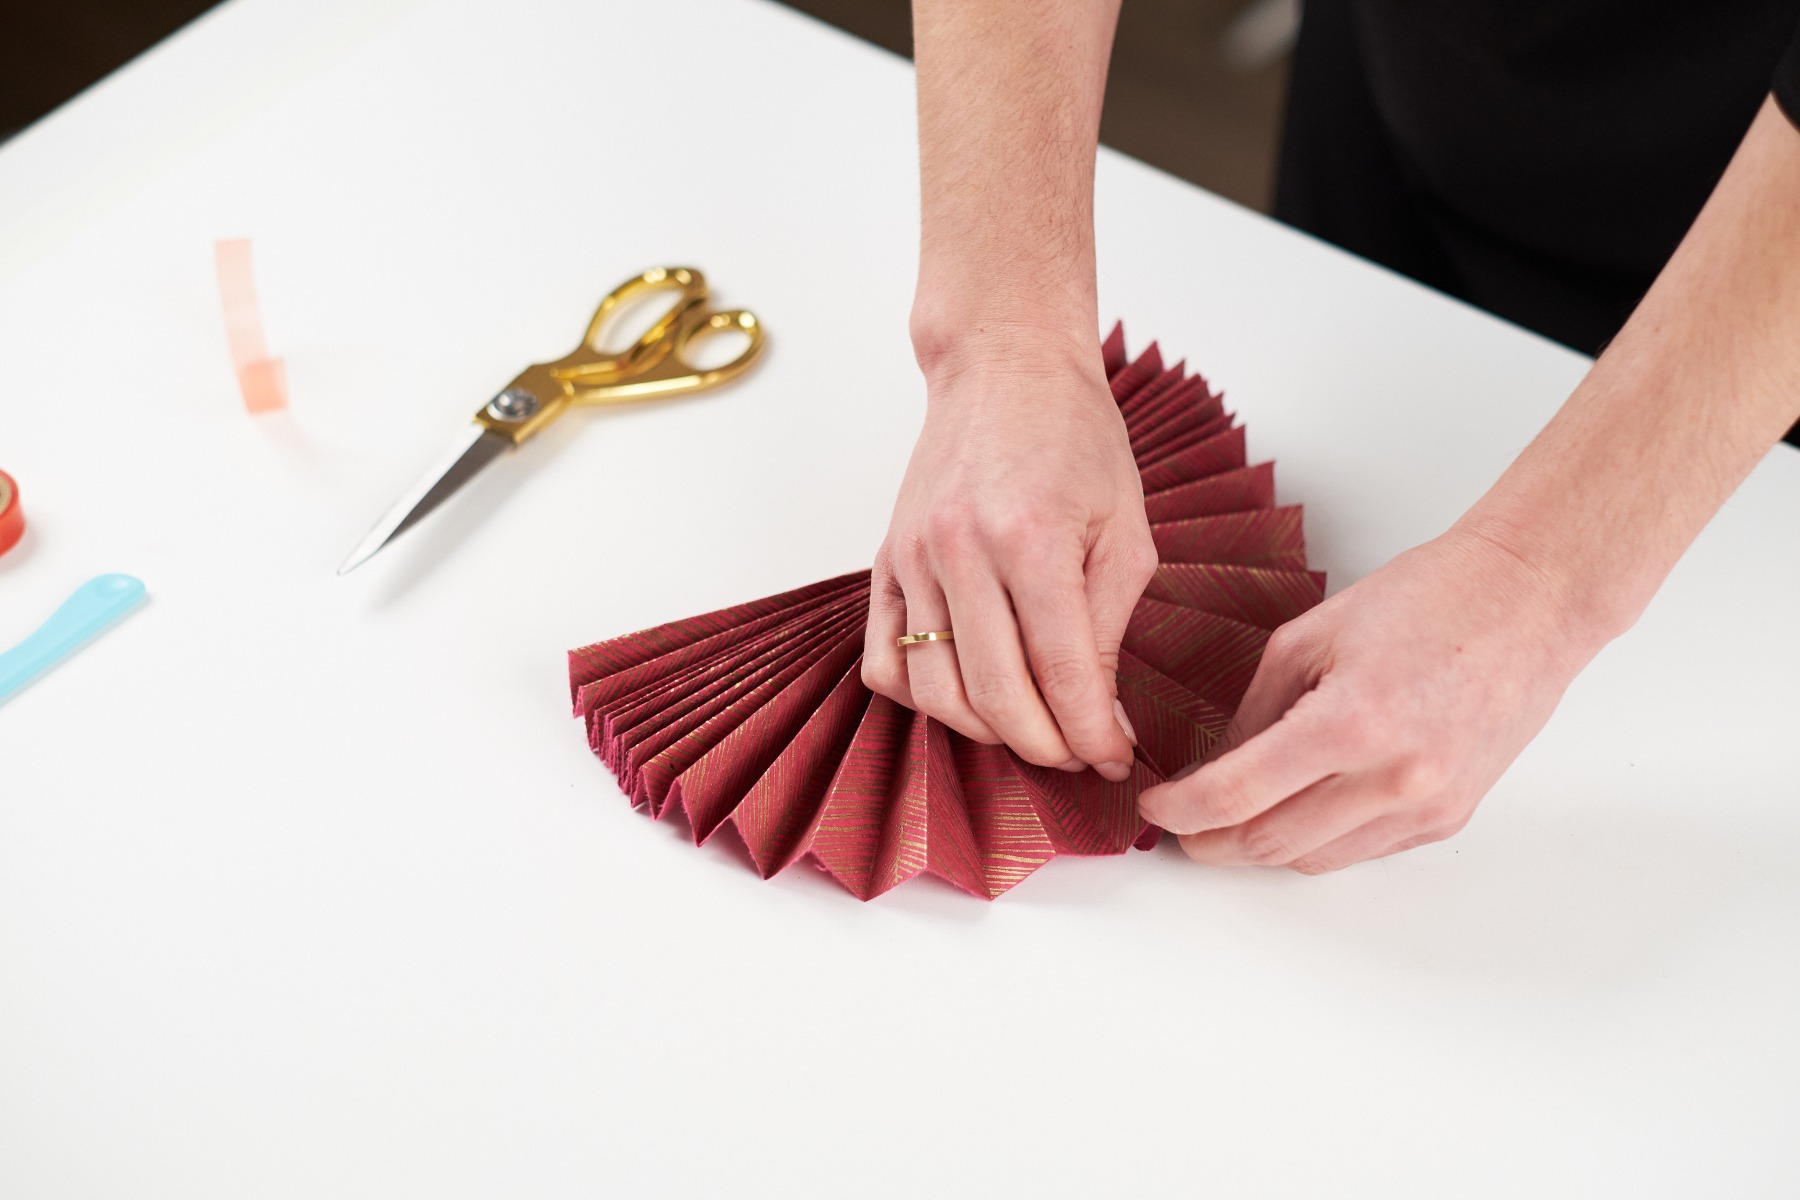
Step 7
Stick
Stick adjacent sides together.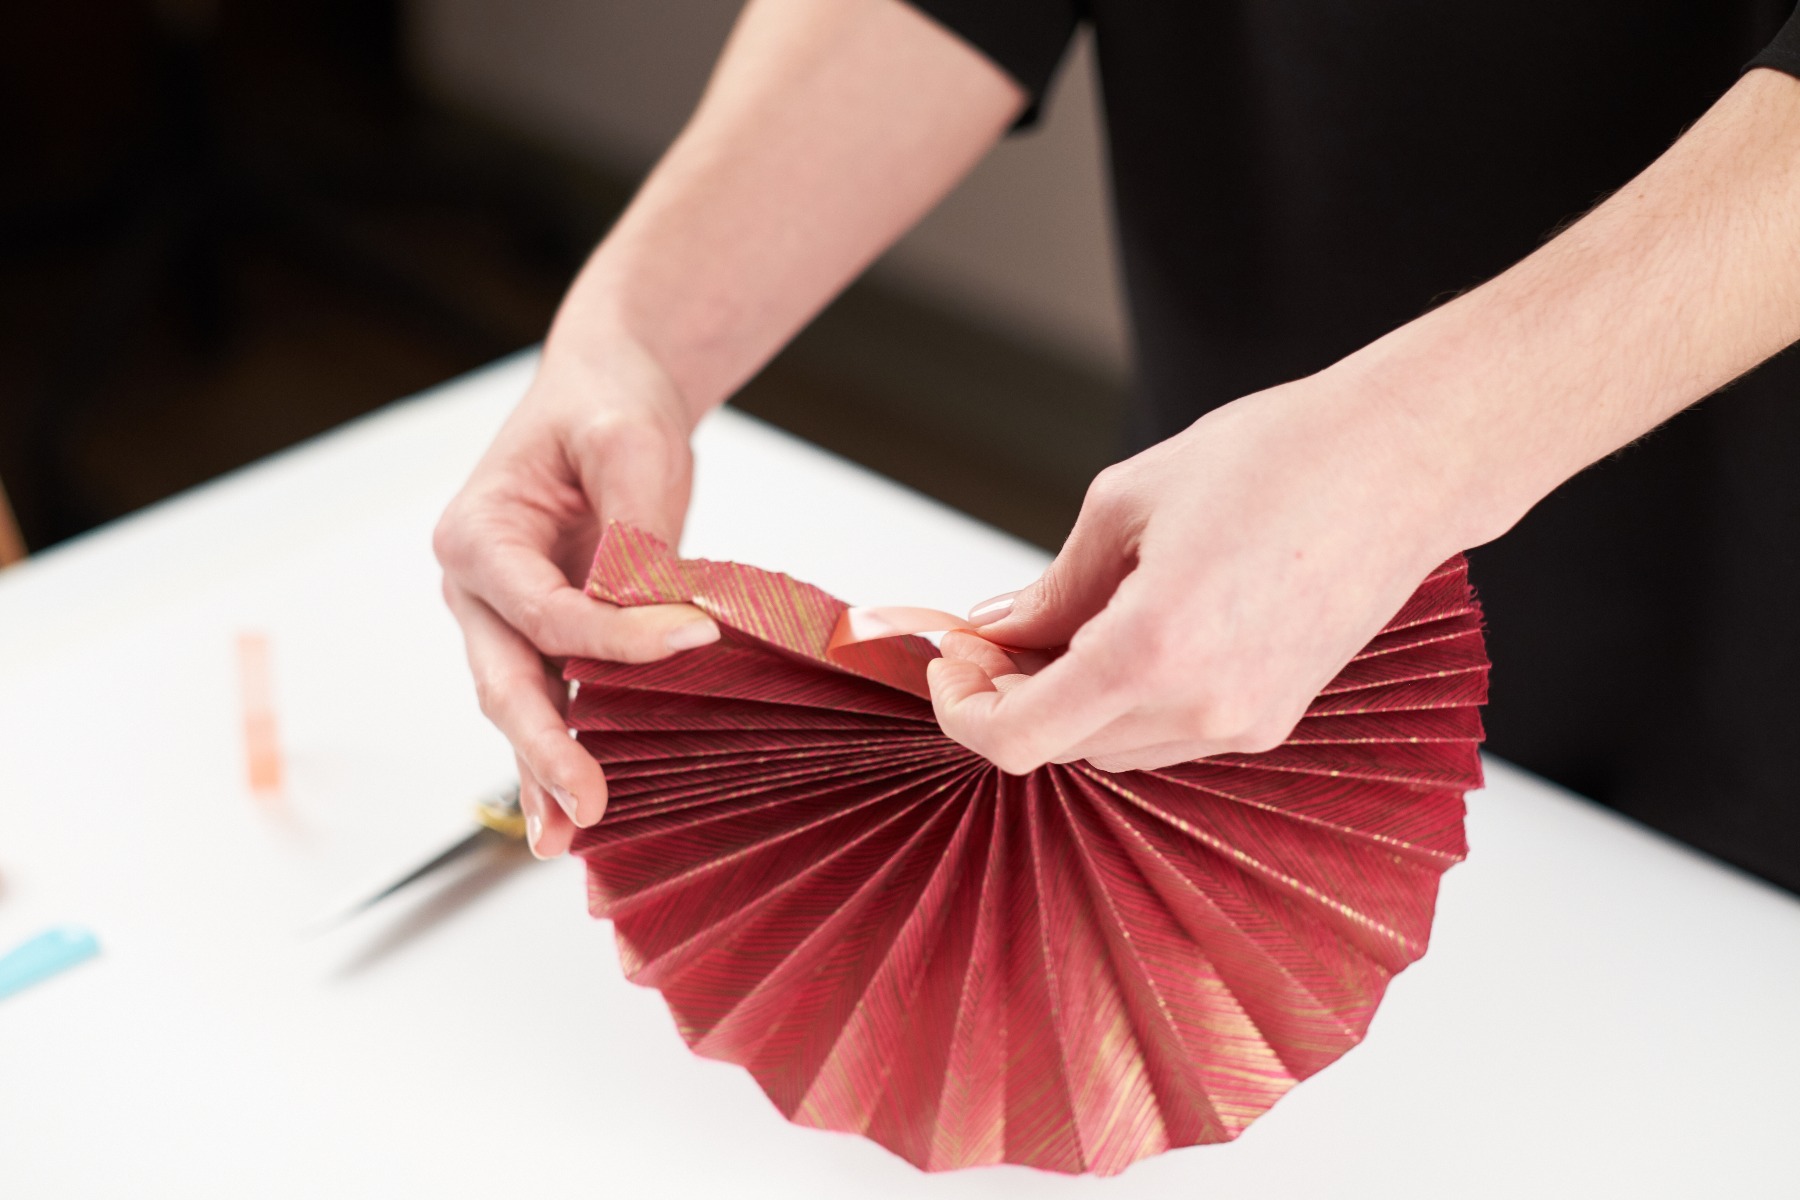
Step 8
Repeat
Repeat steps 6 and 7 for other side. If necessary, trim uneven edges (where two sides meet).Shop This Project
Check items to add to the cart or


