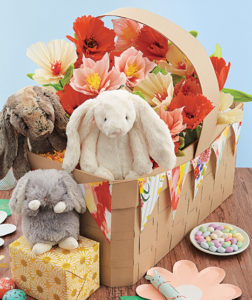
When Easter hops around, we love curating special baskets for everyone in the family, especially if it means a cute theme and lots of goodies to complement it! As we got a head start on this year’s baskets, we thought why don’t we add a personal touch and build a basket – literally. The result is a cute woven basket, perfect for housing Easter goodies or to serve as a carrier for the Easter egg hunt. Find the how-to below!
What You’ll Need
- Basket Template
- Text Weight Paper
- Scissors
- Double-Sided Tape
- Optional: Washi Tape & Plantable Flowers
Steps
Step 1
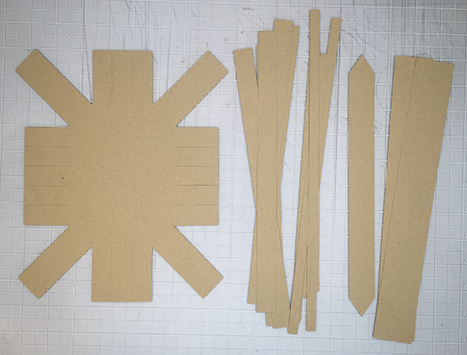
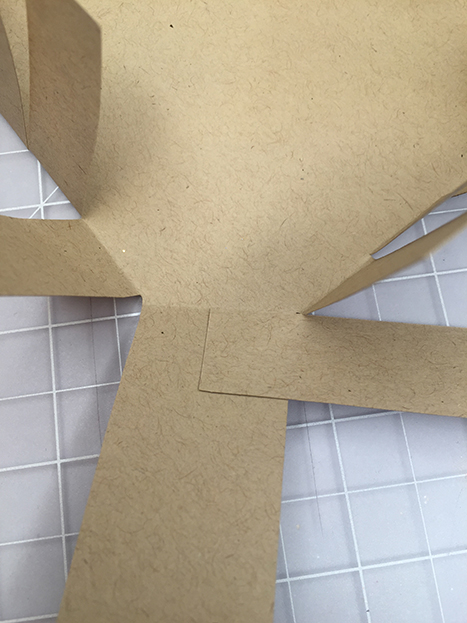
Print the template on the paper color of your choice (we used Paper Bag). The template pages include the following components: the body of the basket, the basket handle, the basket rim (in 2 pieces) and weaving strips. Cut along the solid lines.
Step 2
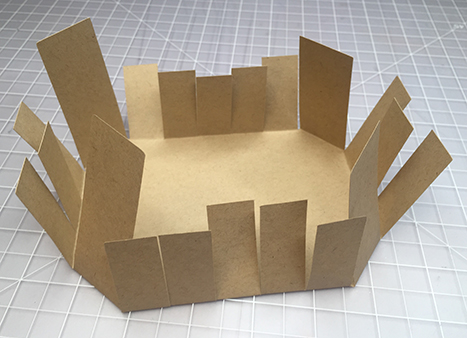
Fold the side panels of the body upwards.
Step 3
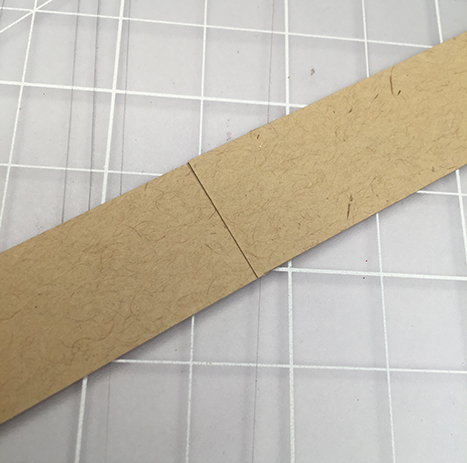
Take 2 wide strips and tape the ends together, slightly overlapping.
Step 4
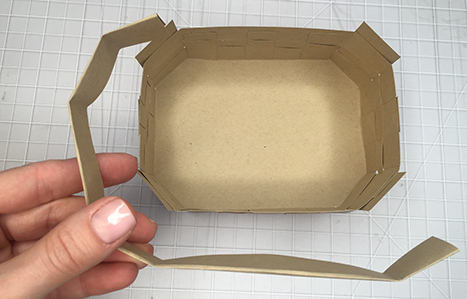
Tape the end of the combined strip to the inside of one of the verticals on the basket structure and weave it through the rest of the verticals, folding the strips to follow the contour of each corner and securing at the corners with double-sided tape. Trim excess if needed.
Step 5
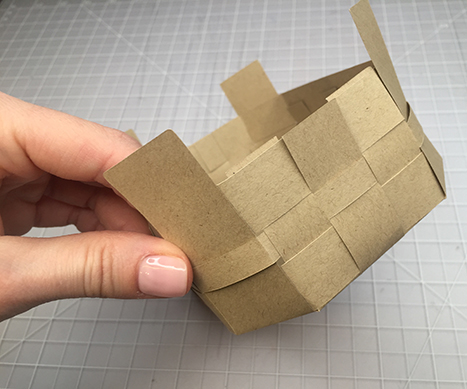
Adhere 2 thin strips together and weave them through the structure, going under and over on opposite verticals from the first strip. Complete the weaving with one more wide row.
Step 6
When you finish weaving, secure the loose ends at the top with double-sided tape.
Step 7
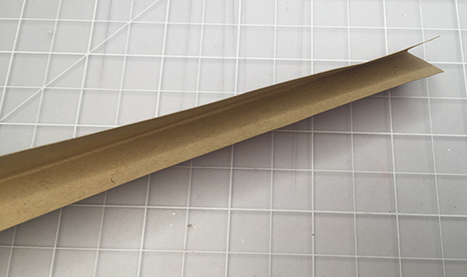
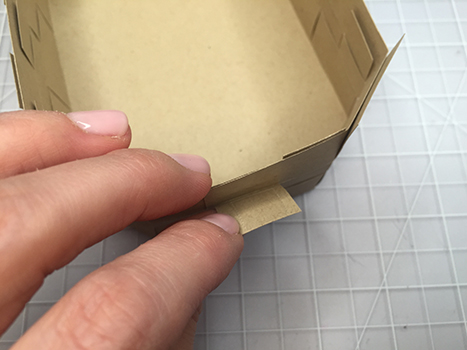
Fold the two rim pieces in half lengthwise.
Step 8
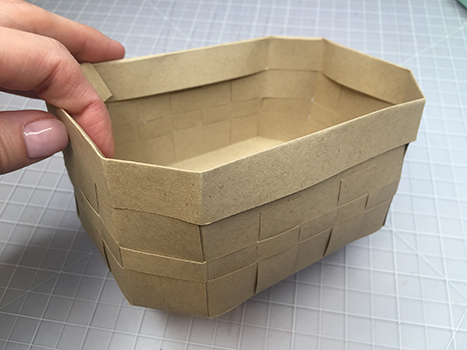
Fold the rim pieces in the shape of the basket and wrap them around the top, overlapping with one another and adhere with tape.
Step 9
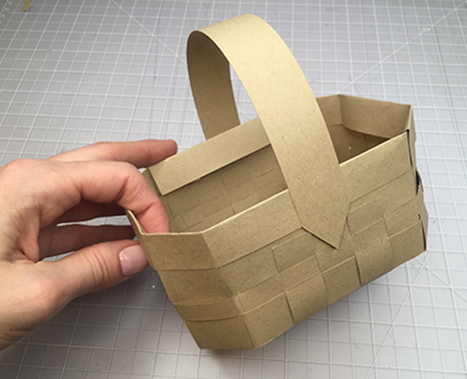
Add the handle with double-sided tape.
Step 10 (optional)
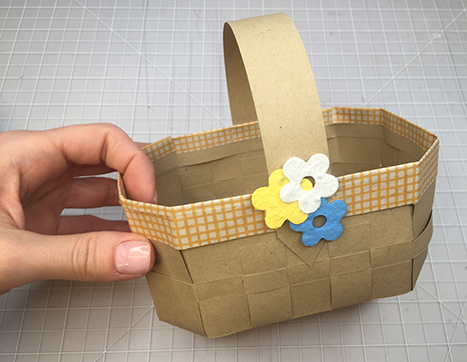
Decorate your basket with flowers, washi and more!


This basket is so cute and can be made in any color to match your space!