DIY Moments: Vol. 16 No. 3
Our large selection of fine papers have an array of gorgeous textures and patterns that are perfect for more than paper crafts – upcycle an old lamp and take it from shabby to chic in just 3 easy steps!
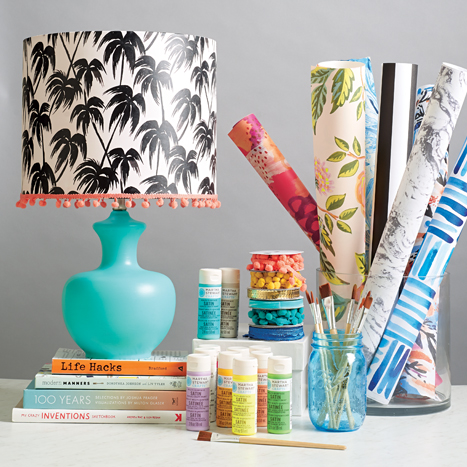
What You’ll Need
- Lamp
- Decorative Paper
- PVA Glue
- Paste Brush
- Nylon Brushes
- Pom Pom Trim
- Satin Acrylic Paint
- Pencil
- Scissors
- Hot Glue Gun
Step 1
Remove the shade from your lamp and clean the surface of the base.
Step 2
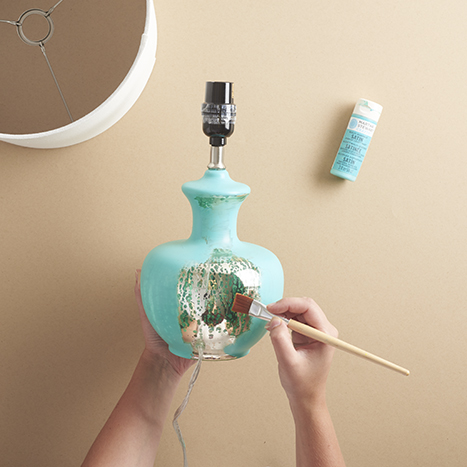
Following the direction on the Acrylic Paint, paint the base of the lamp with a Nylon Brush. Apply additional coats, if necessary.
Step 3
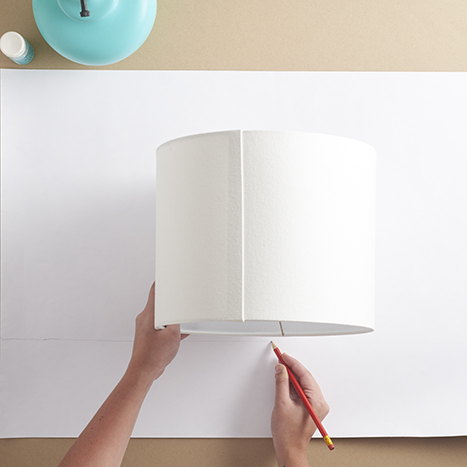
Trace the lampshade on the backside of the decorative paper of your choice in pencil, rolling the shade along the surface as you trace until you reach the required length.
Step 4
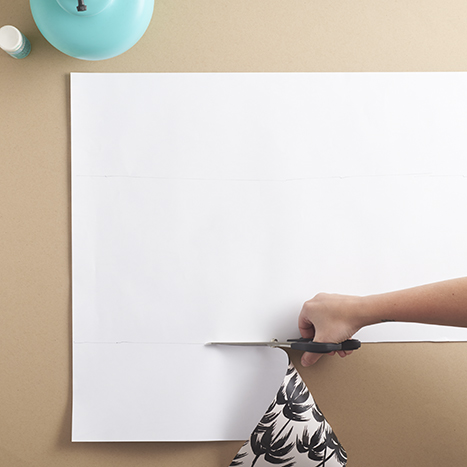
Cut the traced shape out of the decorative paper.
Step 5
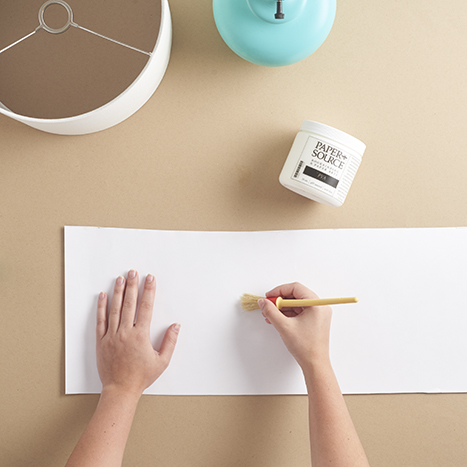
Brush PVA on the back side of the decorative paper with the Paste Brush, starting with your brush in the center and pushing past the edge of the paper with each brushstroke. Coat evenly.
Step 6
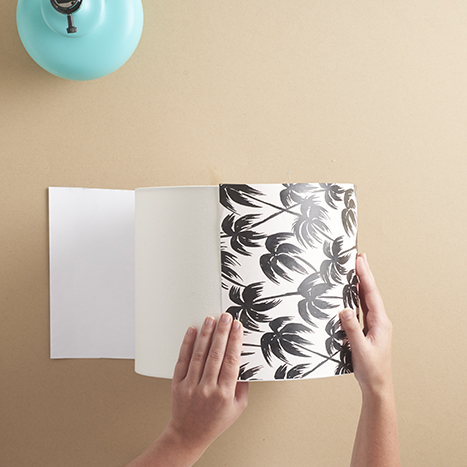
Adhere the paper to the shade, smoothing as you go.
Step 7
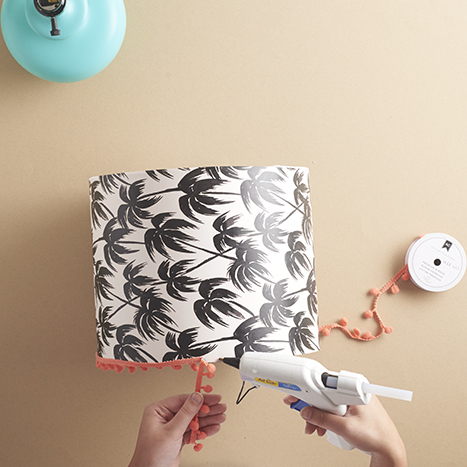
Bead the lower rim of the shade with hot glue, adding trim as you go.
Step 8
Assemble the lamp and plug it in!
Download and print this guide to take to your local Paper Source for easy shopping and crafting!


Can any type of paper be used without worry of a fire starting? I always thought the type of paper used had to be something treated, like wrapping paper.
I love your simple demonstration. The lampshade you made is very cute.
Hi Cheri! We definitely understand your concern. Since the paper is only being applied to the outside of the shade, you won’t be altering the properties of the shade’s interior, so we leave the safety to the shade’s manufacturer, then!
I was just about to invest in a new lampshade, I will save me a lot of money by following this technique!
[…] about other DIY projects for decorating your home, check out our other how-tos including an “Illuminating DIY” and “Picture Perfect […]