

The Edit

Meet the Paper Source Specialists: Fern
Fern Sinio has a way of making a conversation feel effortless. She has the kind of easy laugh that immediately creates a comfortability with clients, making stationery appointments seem more like c...
Read more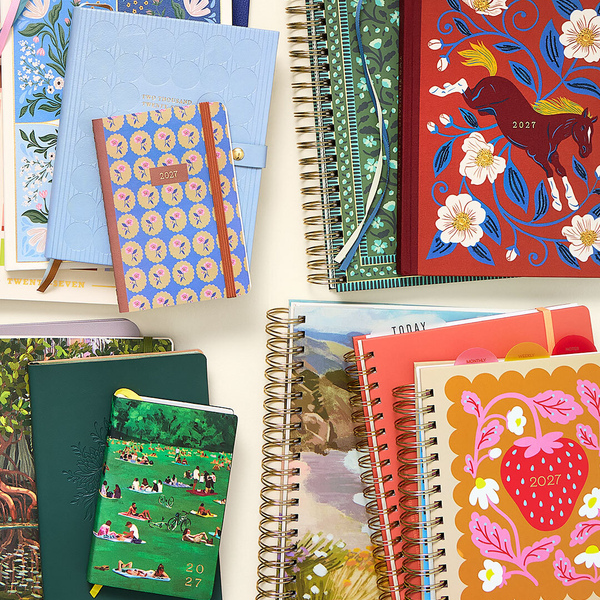
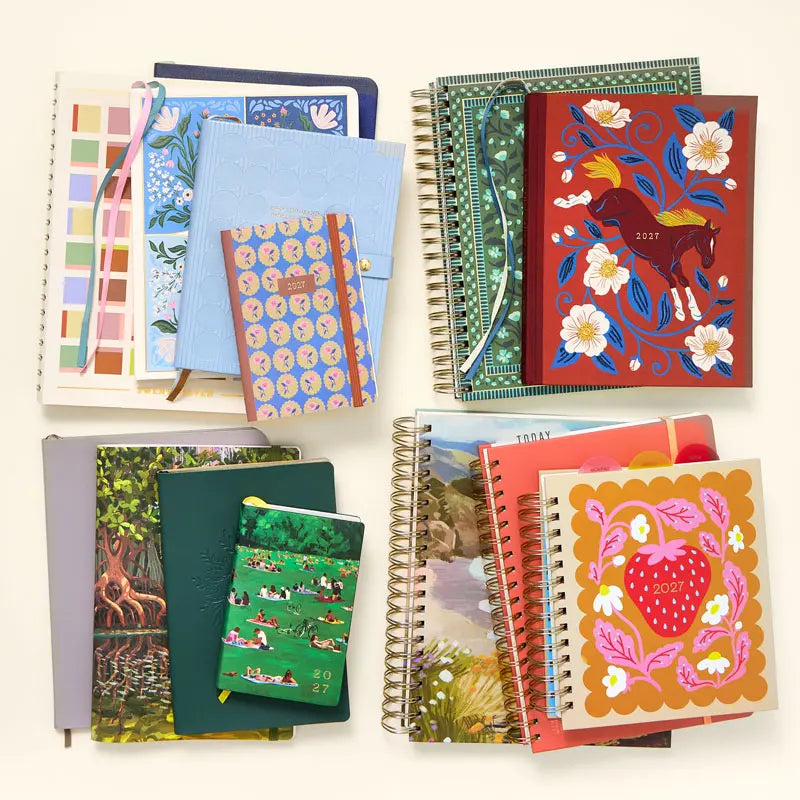
2026-2027 Calendars and Academic Planners from Paper Source
Say hello to Paper Source’s new academic planners and 17-month calendars! Find the perfect planner that fits your needs and lifestyle. Thoughtfully designed at our headquarters in Chicago, each pr...
Read more
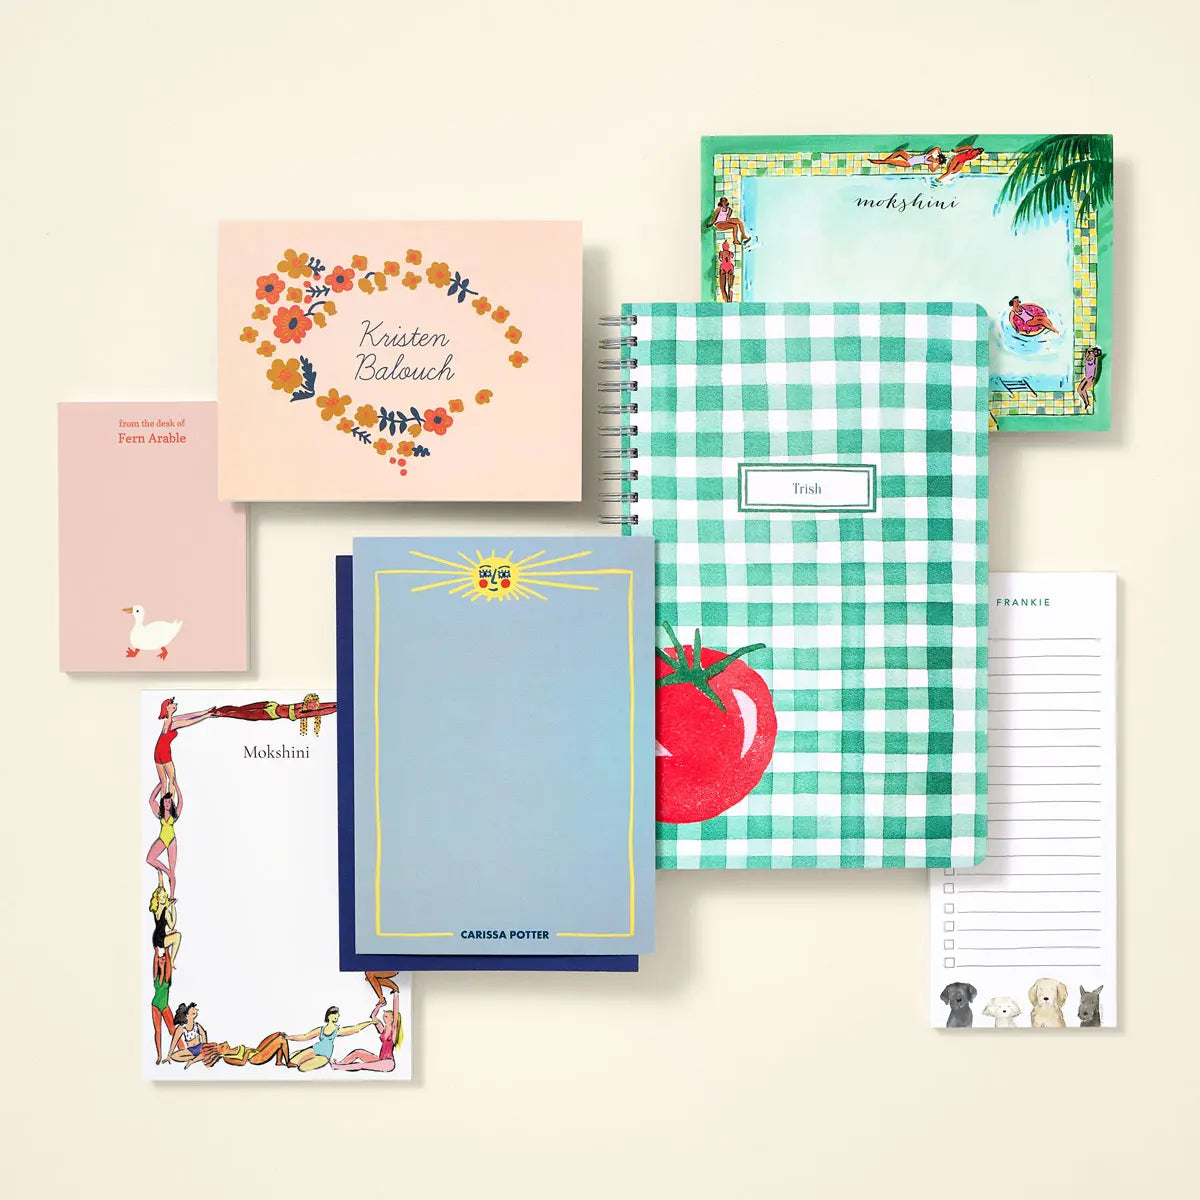
Ink on Paper Source X Isabella MG
Ink on Paper Source is a collaborative collection from independent artists who inspire us. Discover their creative voices, translated into stationery and wedding invitations exclusively at Paper So...
Read more
Meet the Paper Source Specialists: Lauren
When you talk to Lauren, the first thing you’ll notice is her calming presence. As a Paper Source specialist, she meets with customers virtually from her beautiful apartment in Chicago. While disc...
Read more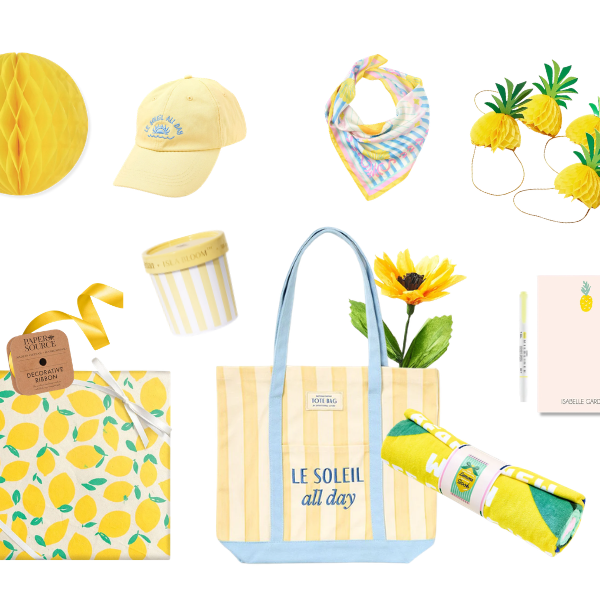
Color Your Summer: Gifts, Activities & Inspiration for Every Part of the Season
Summer is about making memories, embracing creativity, and finding joy in everyday moments! This season, we're inviting you to Color Your Summer with collections designed to bring fun, adventure, c...
Read more
Ink on Paper Source X Molly Anne Bishop
Ink on Paper Source is a collaborative collection from independent artists who inspire us. Discover their creative voices, translated into stationery and wedding invitations exclusively at Paper So...
Read more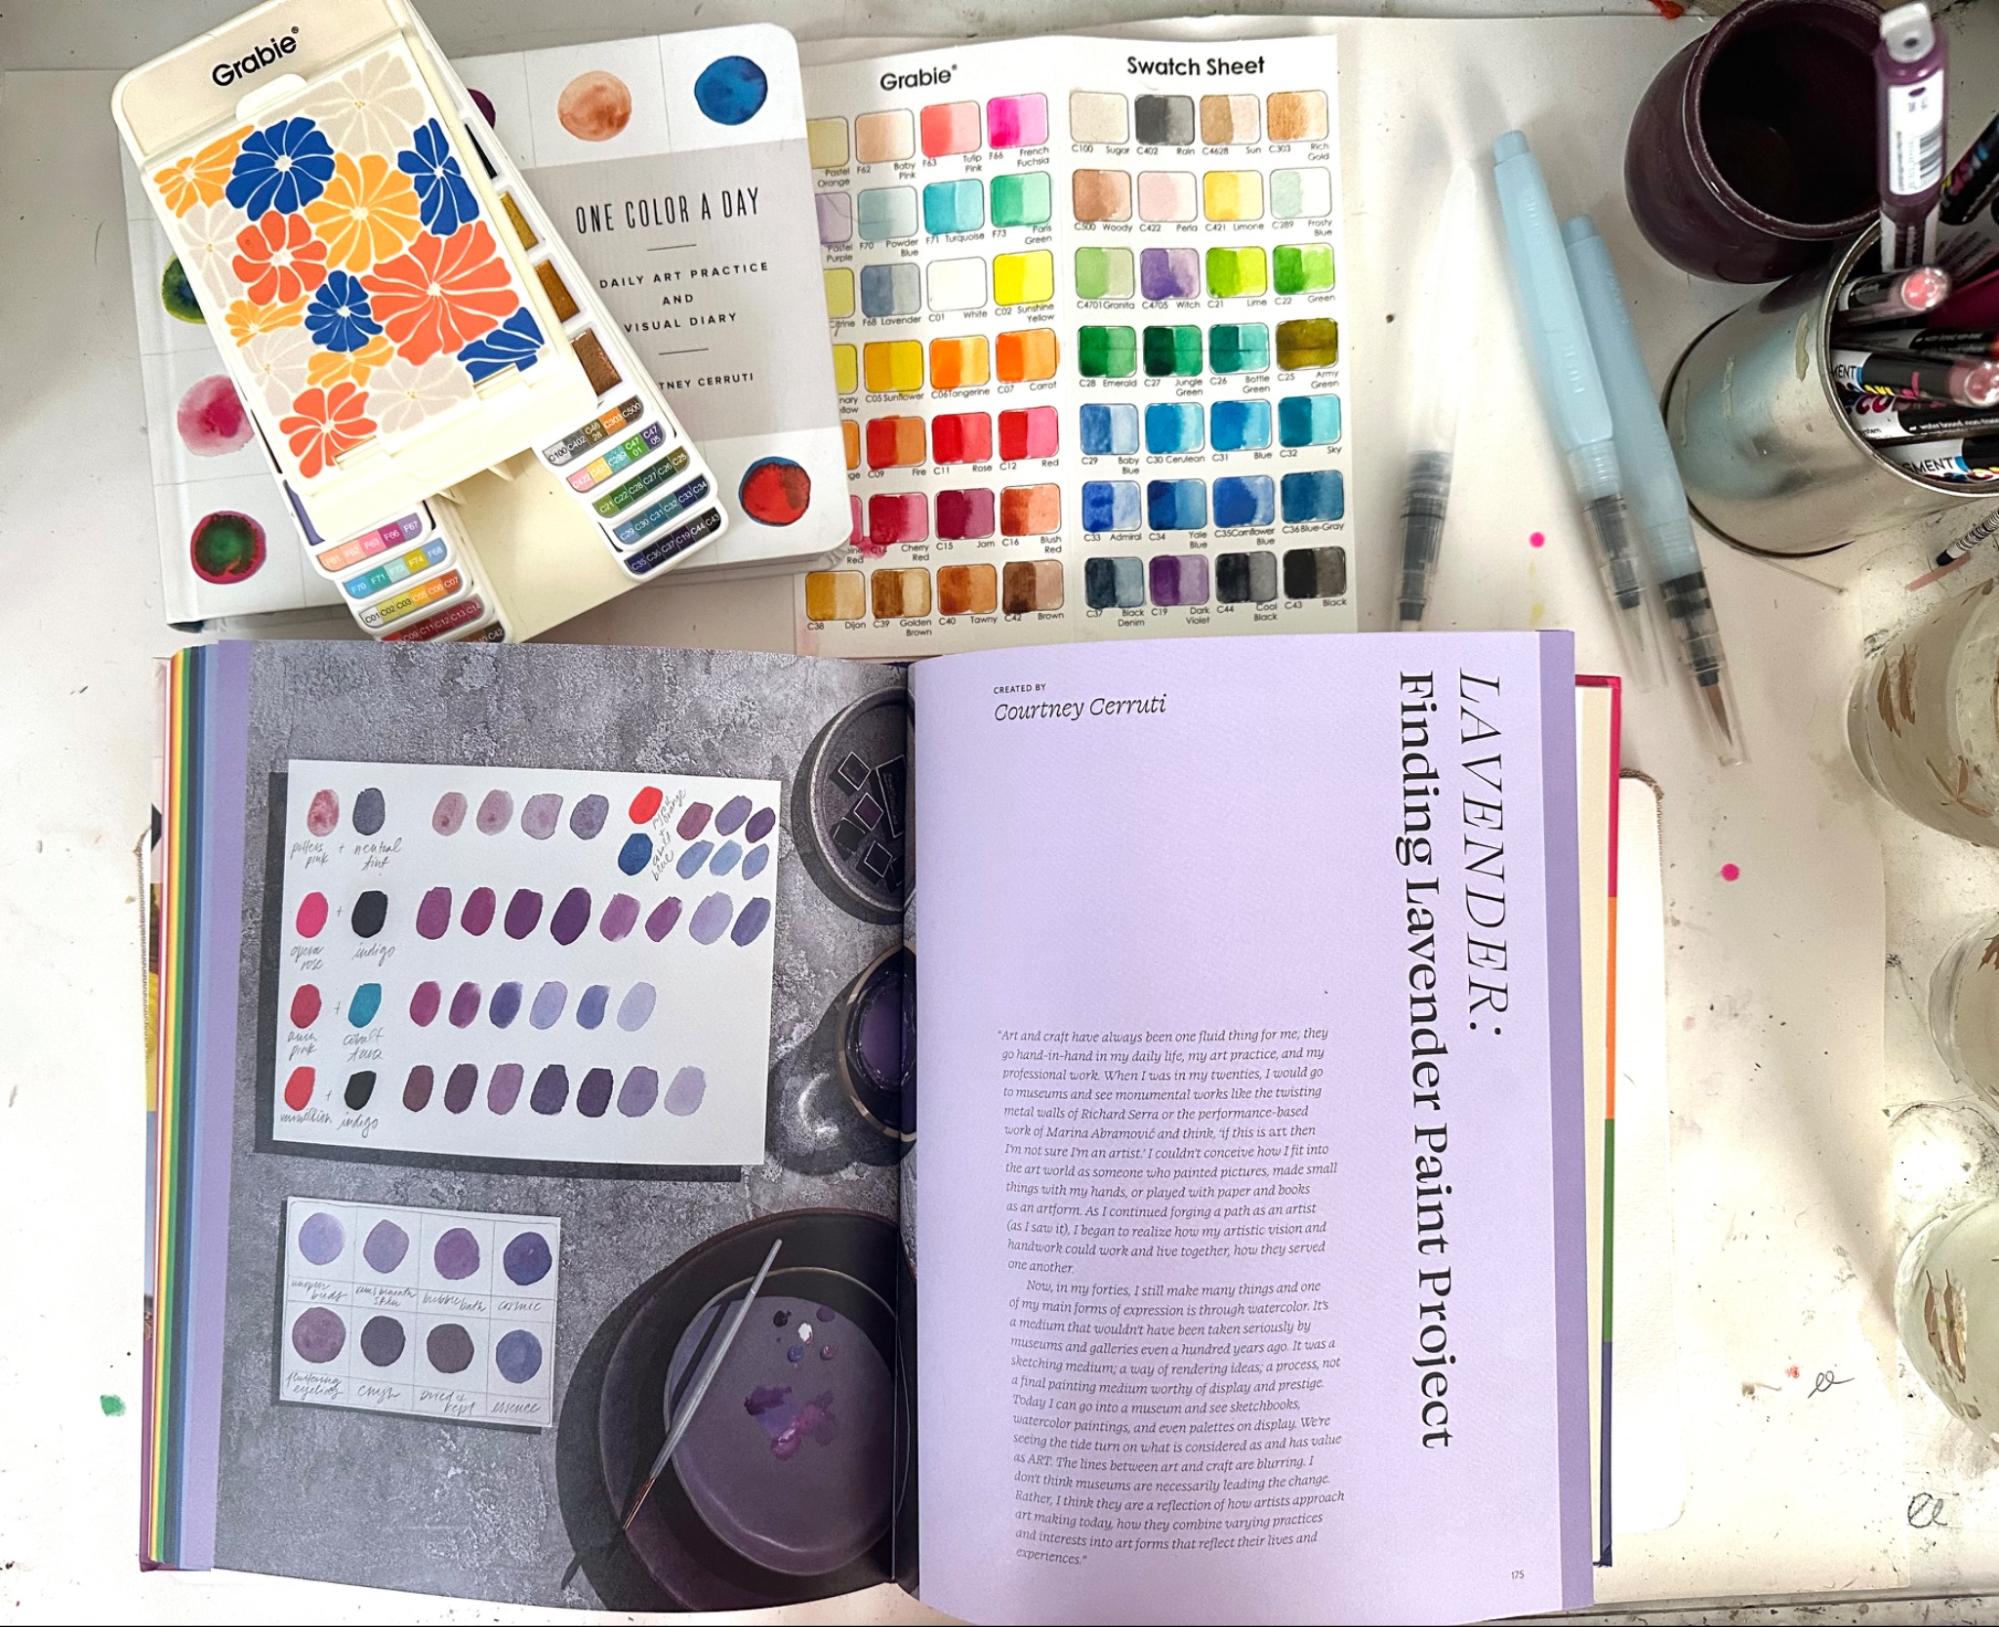
Guest Blog: Lisa Solomon on Finding Lavender with Watercolor
Hi! I’m Lisa Solomon, a mixed media artist who moonlights as an author/illustrator, educator/college professor, occasional curator and graphic designer. My latest book published by Hardie Grant is ...
Read more
Ink on Paper Source X Sanna Mander
Ink on Paper Source is a collaborative collection from independent artists who inspire us. Discover their creative voices, translated into stationery and wedding invitations exclusively at Paper So...
Read more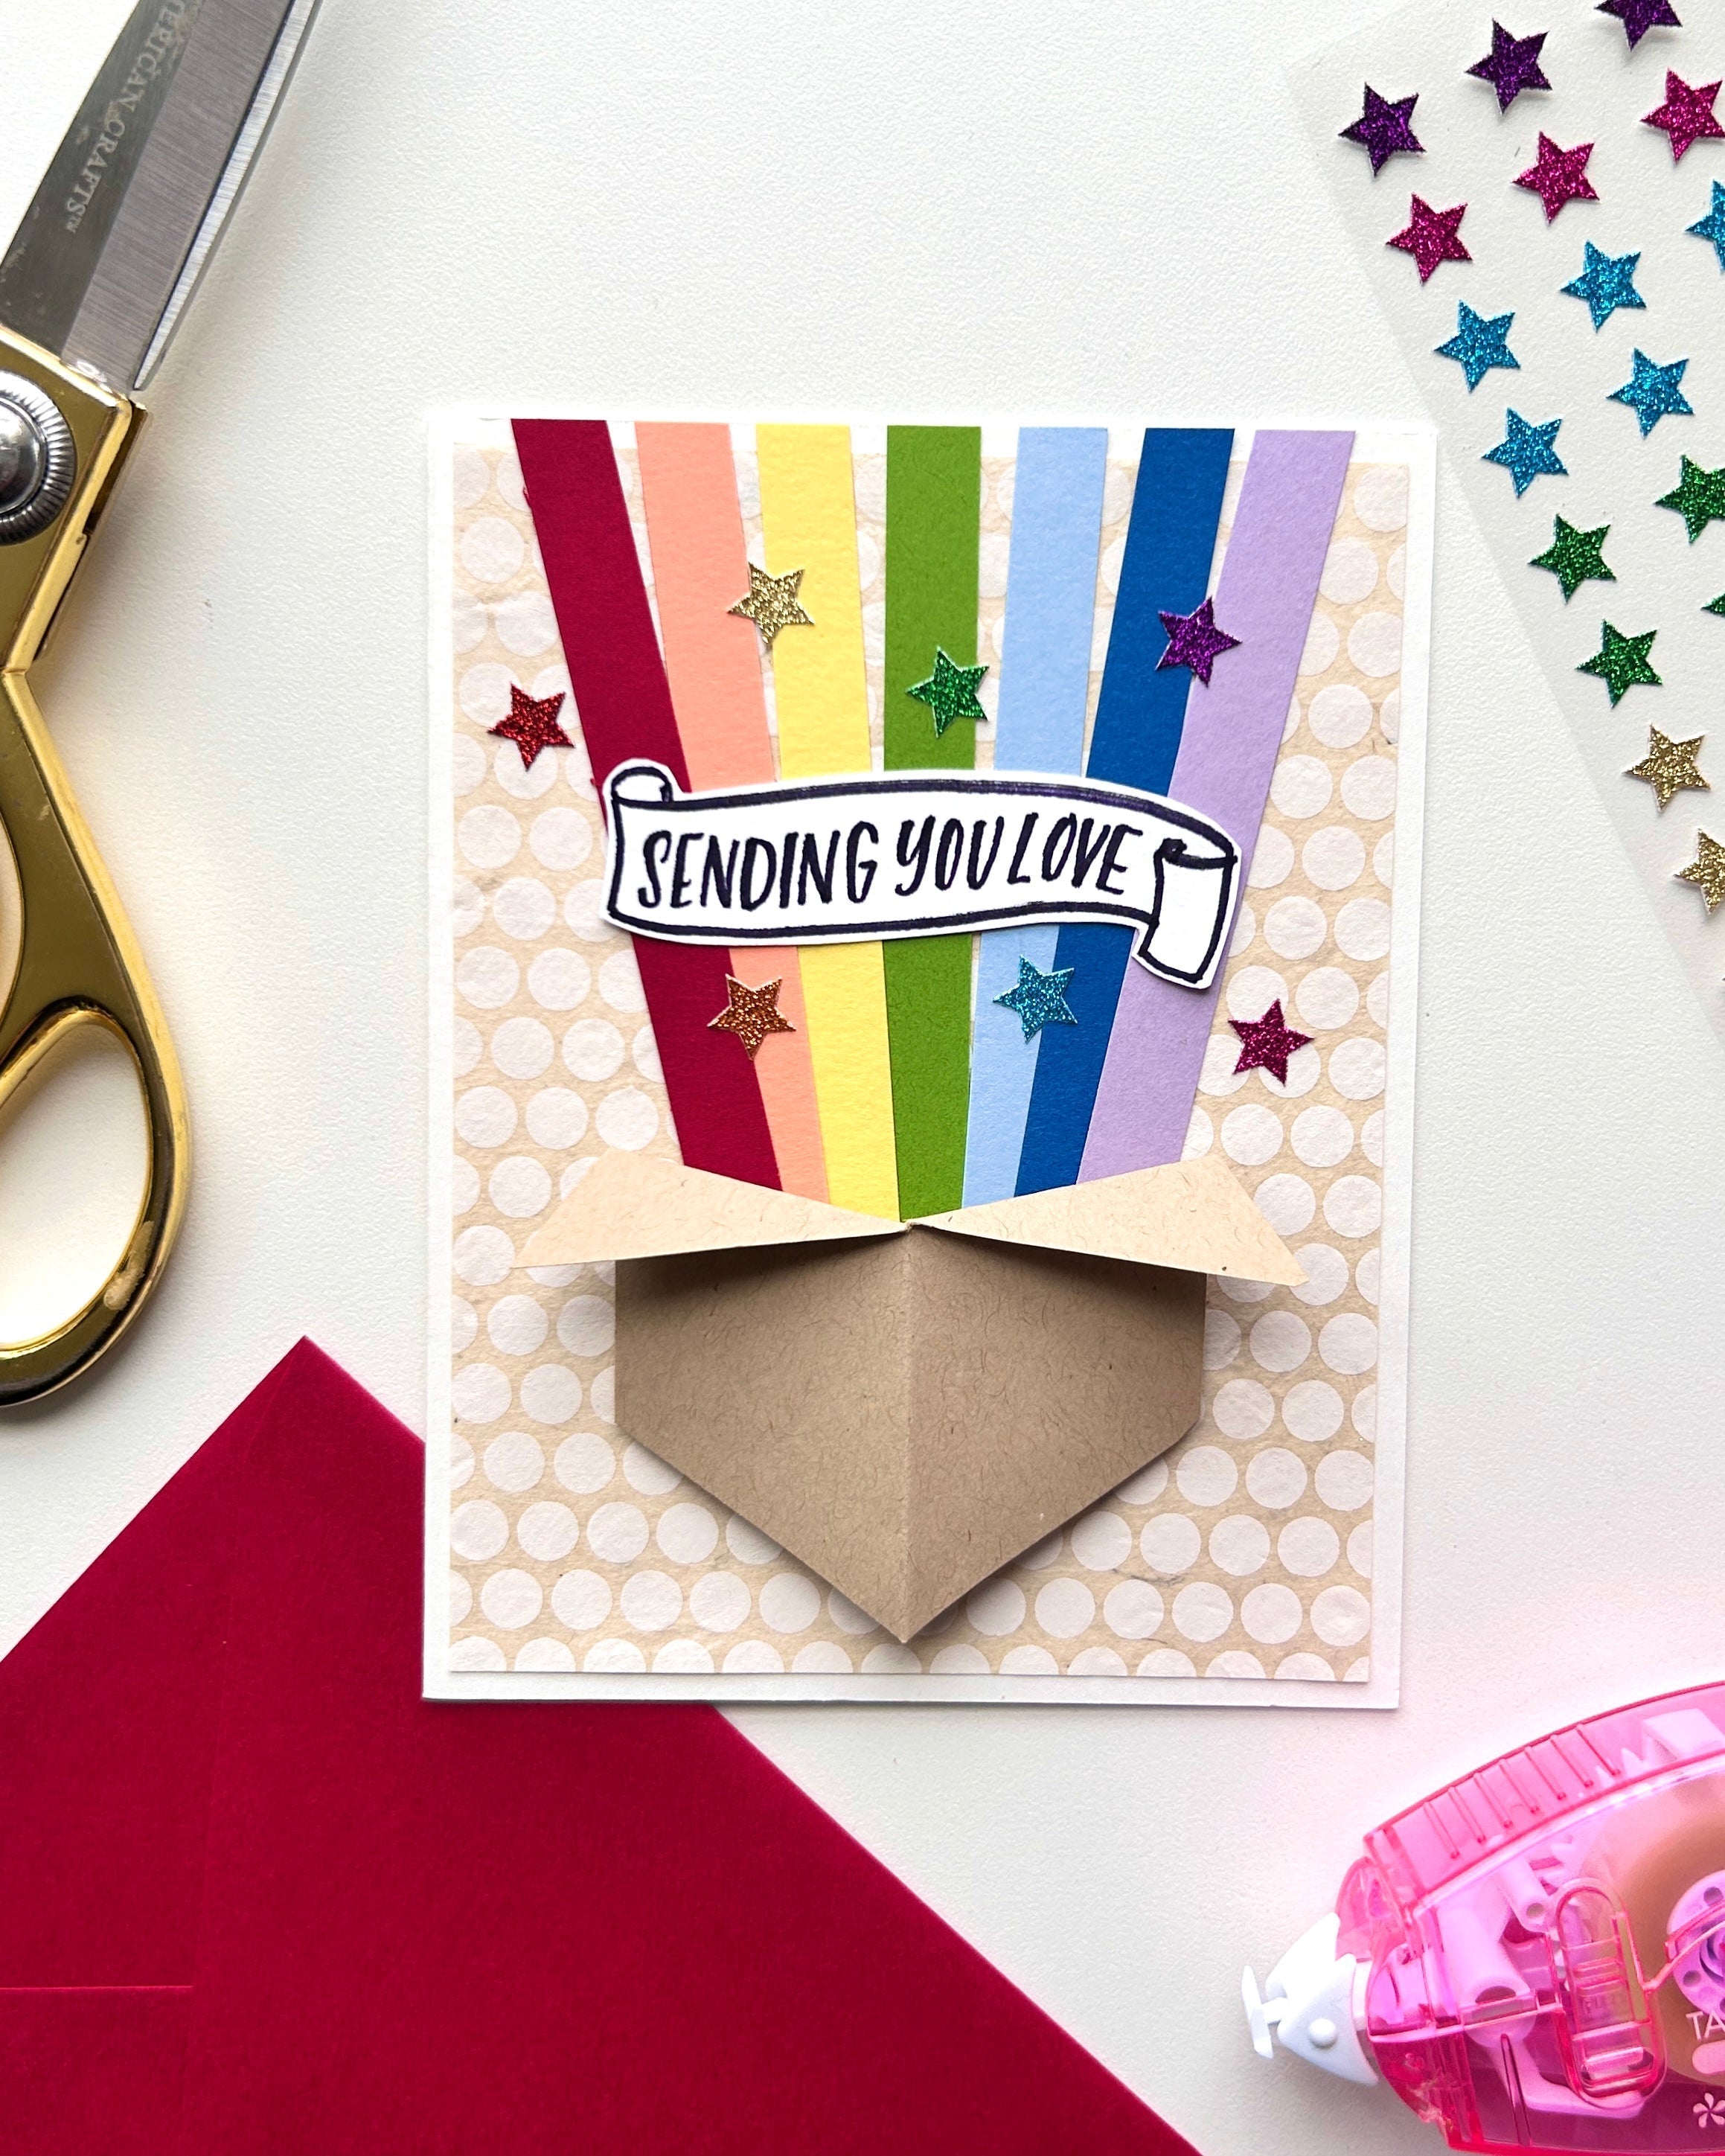
This June, in honor of Pride Month, we're sending this card BURSTING with love! Instructions: To make rainbow: cut 1/2" x 6" strips of paper in ROYGBIV, adhere to card in a fanned out fashion by ...
Read more
Ink On Paper Source X House of Haricot
Ink on Paper Source is a collaborative collection from independent artists who inspire us. Discover their creative voices, translated into stationery and wedding invitations exclusively at Paper So...
Read more