DIY Wedding Invitations
How to Make DIY Wedding Invitations
If you want to make your own wedding invitations, but aren't sure what's involved or where to begin, we're here to help! We have all the materials and resources you'll need to create beautiful, personal DIY wedding invitations. Below you'll learn more about our extensive collection of paper and envelopes, decorative embellishments, crafting tools, and online resources that will help you through the invitation process.
Early in the wedding planning process, make sure to see our Wedding Checklist & Stationery Timeline with an overview of when to do what for all things wedding.
Paper & Envelopes
Our collection of high quality cover weight cards and envelopes are perfect for invitations. Available in our exclusive color palette, you can mix and match as our colors are meant to complement each other. We also have a variety of whites so you can achieve just the right look.
Here are our white papers in order from the lightest/brightest white to the creamiest white (deepest color):
- Pure White - the brightest white paper we carry
- Eco-White - a standard white paper with 100% recycled content and 30% post-consumer waste
- Superfine White - a very light cream paper
- Superfine Soft White - a creamy paper, also referred to as ivory paper
How much paper to order
We recommend ordering 20-25% above the final amount that you need so you have plenty of extra material for practice and in case of mistakes. For example, if you need to make 100 wedding invitations, we recommend ordering 125 flat cards and 120 envelopes.
Recycled paper
We know a green wedding is important to many brides, so we're proud to say that our collection of paper and envelopes will help you create wonderful invitations in an eco-friendly way. Our colored cards, envelopes and enclosures are recycled with 30% post-consumer waste. Our Luxe Fino papers are recycled with 30% post-consumer waste and 20% cotton. And our eco-white paper is 100% recycled with 30% post-consumer waste paper.
Embossed Printable Invitations
In addition to our solid color flat cards we also have a selection of beautiful embossed printable invitations. These cards feature designs that are blind embossed onto the card creating a luxurious raised image. These are elegant and easy to print at home, and can still work with our envelopes and enclosures. Many of these designs also have coordinating embossed thank you notes or stationery, perfect to use as wedding stationery.
Designing Invitations
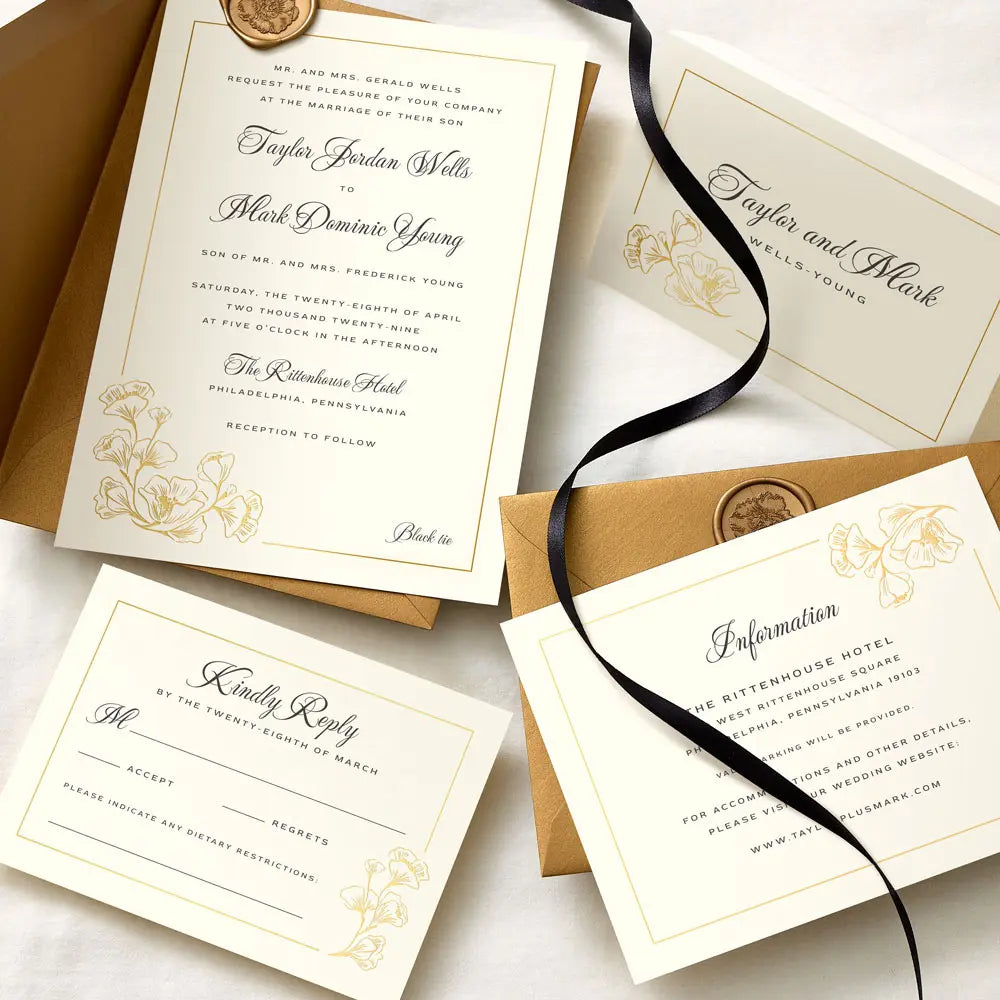
The layout of your text is important in defining the style of your invitation. Think about whether you want to incorporate artwork or decorative icons either printed or through rubber stamps, or if your invitation will feature only text. Also consider how formal or traditional your event will be, which might guide your design decisions. Finally, figure out your invitation wording by looking at wedding invitation samples and searching online.
Once you have a basic idea you can create a template to your invitation card size. Type out your invitation, then start playing with the following elements:
- Font & Treatment = A font can dramatically change the look of your invitation and can turn a diy invitation into a professional looking masterpiece. Your word processing program will have default fonts, but there is also a wide variety of fonts available both free and to purchase online (try websites like dafont.com for downloadable fonts). Experiment with different fonts, font combinations (try using two different fonts), and treatment (italics, uppercase, lowercase) to see what suits your taste.
- Font Size = Your font size will determine how your text fills the space of your invitation card. You can also use varying font sizes to highlight different parts of the text (e.g. the bride and groom's names are typically in a larger font).
- Inks = Your word processing program will have a few ink color options. Think about your invitation package as a whole, other decorative elements such as paper or ribbon you might be using, and select an ink color that complements your overall color scheme.
- Alignment = Although a center alignment has traditionally been the way a wedding invitation is formatted, you see many invitations using a right or left justified layout. You even see wedding invitations that use a combination of alignments. Again your alignment will help decide how you fill the space.
- Line Spacing = Spacing between lines is an important finishing detail. You want your lines not too far apart and not too close together - find a balance that's pleasing to the eye and that works within your invitation space.
Create and print a number of designs, get some input from family and friends, and ultimately choose the one that to which you feel the most connected!
Printing Invitations
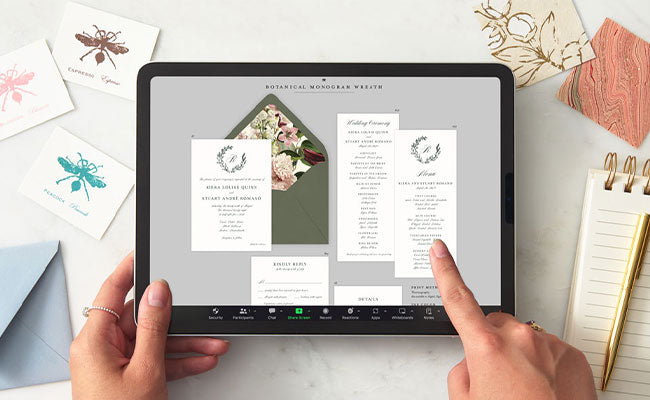
Printing DIY invitations at home can be done quite well if you have the right tools and practice. See our print help section for information and tips on printing at home on our paper. We also have a collection of free print templates to help you get started. Search our wedding invitation templates, and other printed card templates, all sized to specific Paper Source flat cards. You can enter your own text and change font, ink, etc. to customize the look.
If you want to make your own invitations, but don't want to take on the printing you should consider having your invitations printed for you and doing the assembly at home. Use our Upload Your Own Wedding Invitation template to print just an invitation card.
Decorating Invitations
Many brides opt just to send an invitation and envelope for their wedding, but there are some easy ways to take your invitation to the next level creating a presentation your guests will love.
Enclosures
An enclosure is used to hold an invitation and often additional components such as response cards, reception cards, etc. Some feature pockets to hold extras, others have sides that fold in to keep your items secure. We have 6 enclosure styles within 3 size categories - 5" square, A7 and A9. Learn more about how to use our enclosures.
If you use an enclosure, you want to use an enclosure flat card for your invitation so it fits nicely inside without having to do any cutting or trimming.
Backings
A flat card that is slightly larger than your invitation can be used as a backing. You mount your invitation onto a flat card, which creates a thin border and adds heft to the invitation. We have flat cards that are sized to work together as an invitation and backing so you don't have to do any cutting or trimming.
Sashes
Paper sashes are a great way to add color or pattern to an invitation. Sashes can be wrapped around an invitation, either as permanent embellishment or one that should be removed. They can also be wrapped around enclosures creating a lovely presentation. Sashes are easy to create at home - just cut strips in the desired width and long enough to wrap around and overlap slightly.
Ribbon can be used in the same way as sashes, and can even be used layered on top of a sash. Choose a material (satin, grosgrain, velvet, silk), width and color that fit your style, and wrap around your invitation or enclosure. You can tie a bow or square knot for a lovely presentation. If you are using ribbon, make sure you test a finished invitation in an envelope to ensure that all your pieces and a bow will fit appropriately into your envelope.
Wedding Suite Essentials
Envelope Liners
Lining envelopes is incredibly easy to do and is an unexpected touch for your invitation. Choose an envelope liner made from a solid paper or one from a decorative paper with a particular pattern or texture that adds to your presentation. You can make your own envelope liners from any paper using our Envelope Liner Template Kit, which includes templates for making liners for these envelope sizes: 4bar, A2, A6, A7, A9, 5 3/4" square and 6 1/2" square.
One important thing to note with envelope liners, if you plan to emboss your return address, you must do this step first before adding your liner.
Outer Envelopes
We carry outer envelopes (A7.5) that correspond to our A7 envelopes. An outer envelope is meant to protect the inner envelope and all of its contents from postal service machines (which can sometimes leave marks) and anything else within which your invitation could come in contact. The extra layer also ensures that your invitation, any embellishments and enclosed cards stay neatly together. Here are a few things to know about using outer envelopes:
- An enclosure can serve the purpose of a protective layer and does not warrant the use of an outer envelope. If you are not using an enclosure, an inner and outer envelope is a great option.
- The outer A7.5 envelope should be addressed using the formal names of your guests (Mr. and Mrs.). The inner envelope can be left blank, can be addressed using formal names, or can be addressed using informal names (Uncle John and Aunt Mary or Mark and Katie).
- An outer envelope is also wonderful for instances where you want to use a dark colored envelope but don't want to worry about addressing them, which would require a special ink or pen. A solution is to use a dark colored envelope for your inner envelope, and a light colored envelope for your outer envelope.
- The inner A7 envelope usually gets an envelope liner, the A7.5 envelope does not. The inner envelope does not get sealed.
Return Address Embosser
A return address embosser is a great way to add your return address to the flaps of your wedding envelopes. An embosser uses a metal plate to impress your address into the envelope paper (much like Braille). This is an easy step and saves you from having to print or handwrite your return address. Please note use of a return address embosser plate requires a desk embosser sold separately.
Tools You Might Need
Making DIY invitations is much easier when you have the right tools at your disposal. If you plan to have help from bridesmaids or friends, make sure you have enough supplies so everyone can be working at once.
Paper Cutter
If you use our flat card and enclosure flat cards with coordinating backings and enclosures, you won't have to do any cutting. But if you plan to cut custom card sizes or make your own sashes, a paper cutter is a great tool.
Xyron
Our favorite way to apply adhesive to just about anything and wonderful for making invitations. If you are mounting an invitation to a backing or enclosure, you can run your invitation through the Xyron machine to apply an even layer of adhesive. You can also use it to apply adhesive to paper sashes and even ribbon. If you are not interested in a Xyron machine, there are many other types of permanent and removable adhesive available.
Scissors
Keep a pair of sharp scissors on hand for making invitations. This is especially important if you're working with ribbon - the only way to cut nice, tidy edges on ribbon is with super sharp scissors. In fact, designate a pair of new scissors for ribbon-only use so the blades stay sharp.
Ruler
A ruler is great to have on hand for lining up layers and achieving consistency with placement (e.g. sashes).
Bone Folder
Even if you've never used a bone folder before, consider it for making invitations. A bone folder is ideal for making creases for easy and clean folds in cover weight paper and for smoothing layers that you've adhered together.
Assembling Invitations
Once you have all your pieces and your printed invitations, it's time for assembly! This is a great opportunity to get your mother, bridesmaids and friends involved. Before you get everyone started, make sure you've assembled a full invitation from start to finish so you know the steps and so you have a finished sample for everyone to see.
We recommend using an assembly line method for assembling invitations. Divide the assembly steps into stations and assign one person to each station. For example, if you are creating a mounted A7 invitation suite, your stations could be as follows:
- Station one = Run the printed invitation through the Xyron machine to apply adhesive
- Station two = Adhere the invitation to the backing
- Station three = Apply postage stamp to RSVP envelope
- Station four = Insert backed invitation, RSVP card and RSVP envelope into main envelope
If you have additional steps like lining envelopes, you can work that into the flow.


